VHF/UHF Flowerpot antenna build
15 Sep 2024This year, I finally started a ham radio course to obtain my ham radio license. I have always found ham radio operation fascinating; hence, it’s been a while since I played with software-defined radio. I also gave a talk at Nerdearla last year about decoding satellite signals!
When I decided to take the course a few months ago, I found the Radio Club Buenos Aires (LU4BB) a warm place. Instructors at LU4BB are very well predisposed to teach electronics, physics, math, antennas, and a lot more than you may need to know to approve the final exam to get your license. As a nerd, I value this a lot because it’s not only the instruction to approve the exam: you end up with a lot of impressive knowledge about how things work from theoretical and practical perspectives.
The radio club is open to aspirants and ham radio operators, and it provides the tools and equipment needed, such as helping us build our first antenna. While not my first antenna, I found the Flowerpot antenna construction very interesting, and I thought I had something to contribute to the radio club.
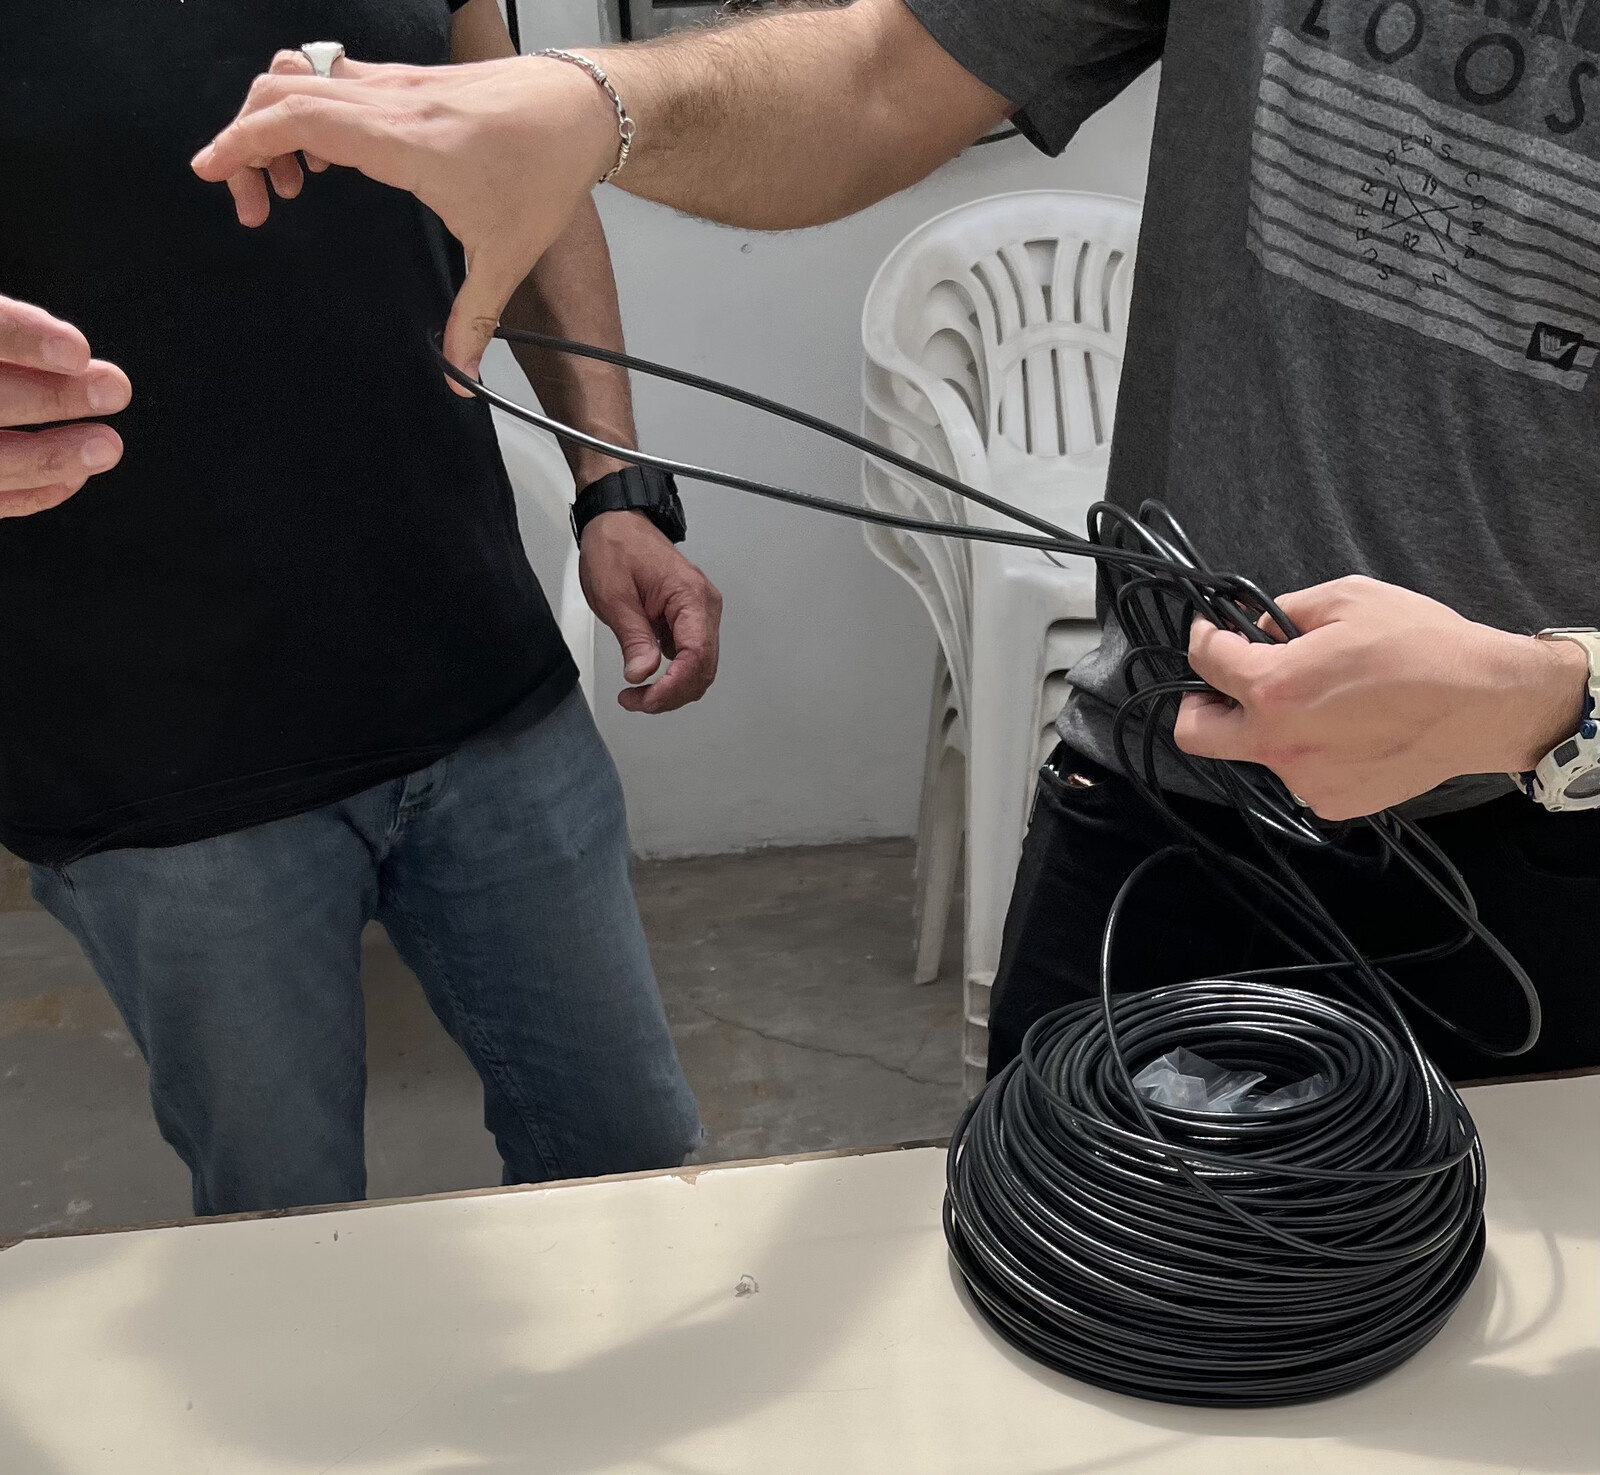
Parts
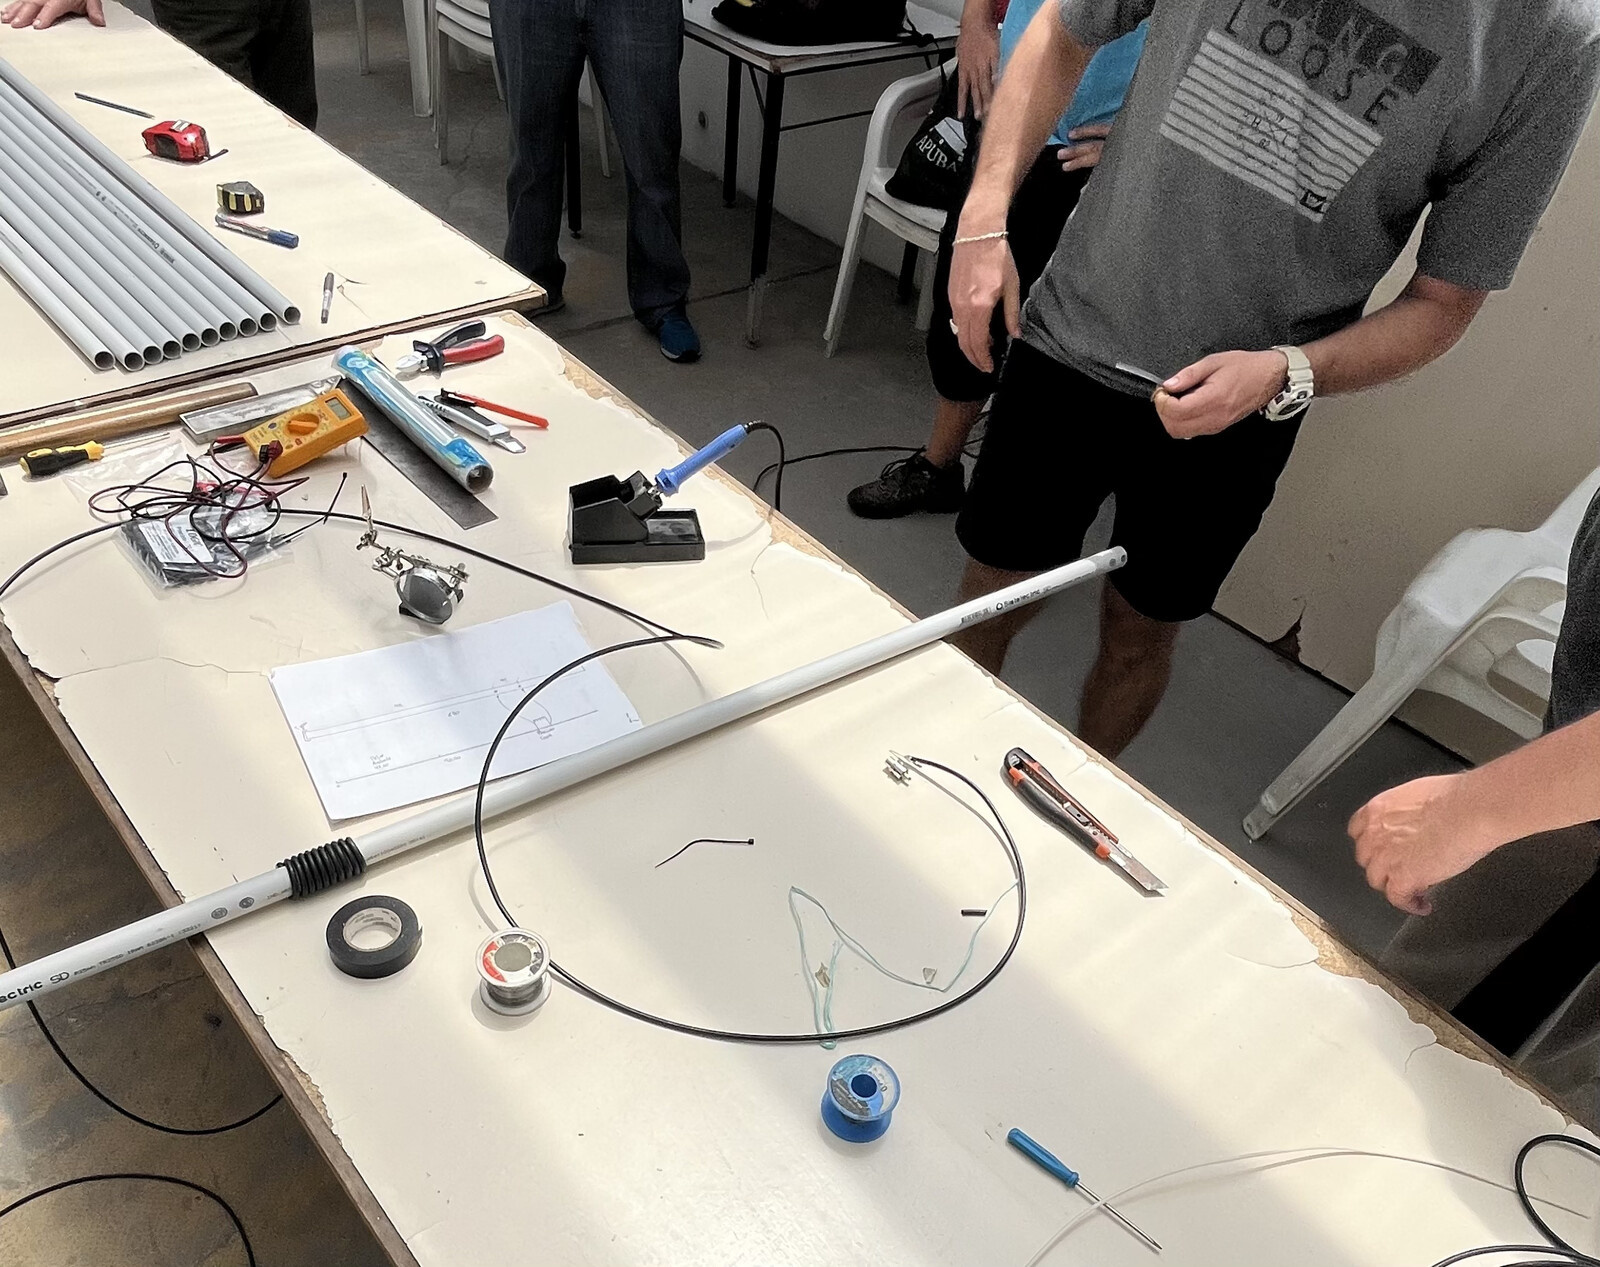
Ten more people and I organized a buying group to buy the required parts (detailed below) to build the antenna. You will also need tools such as a drill, an 8mm drill bit, a soldering iron, some solder wire, and pliers. Each antenna (with 3 meters of RG-58 cable) currently costs us around $10 US dollars.
| Quantity | Name | Details |
|---|---|---|
| 1 | 3 meter, 25 mm diameter reinforced PVC tube | You can build two antennas from one tube |
| 3 | meters of RG-58 coaxial cable | 3 to 10 meters is a good amount of cable for this antenna |
| 2 | Zip ties | To tie the cable to the tube |
| 1 | PL259 connector | You can use a BNC connector as well |
| 1 | Kitchen Tin Foil | To build a variable capacitor |
Assembly
- The first step is to cut the 3-meter reinforced PVC tube in half. That 3-meter tube is enough to build two antennas, so you need to cut it to 1.5 meters each.
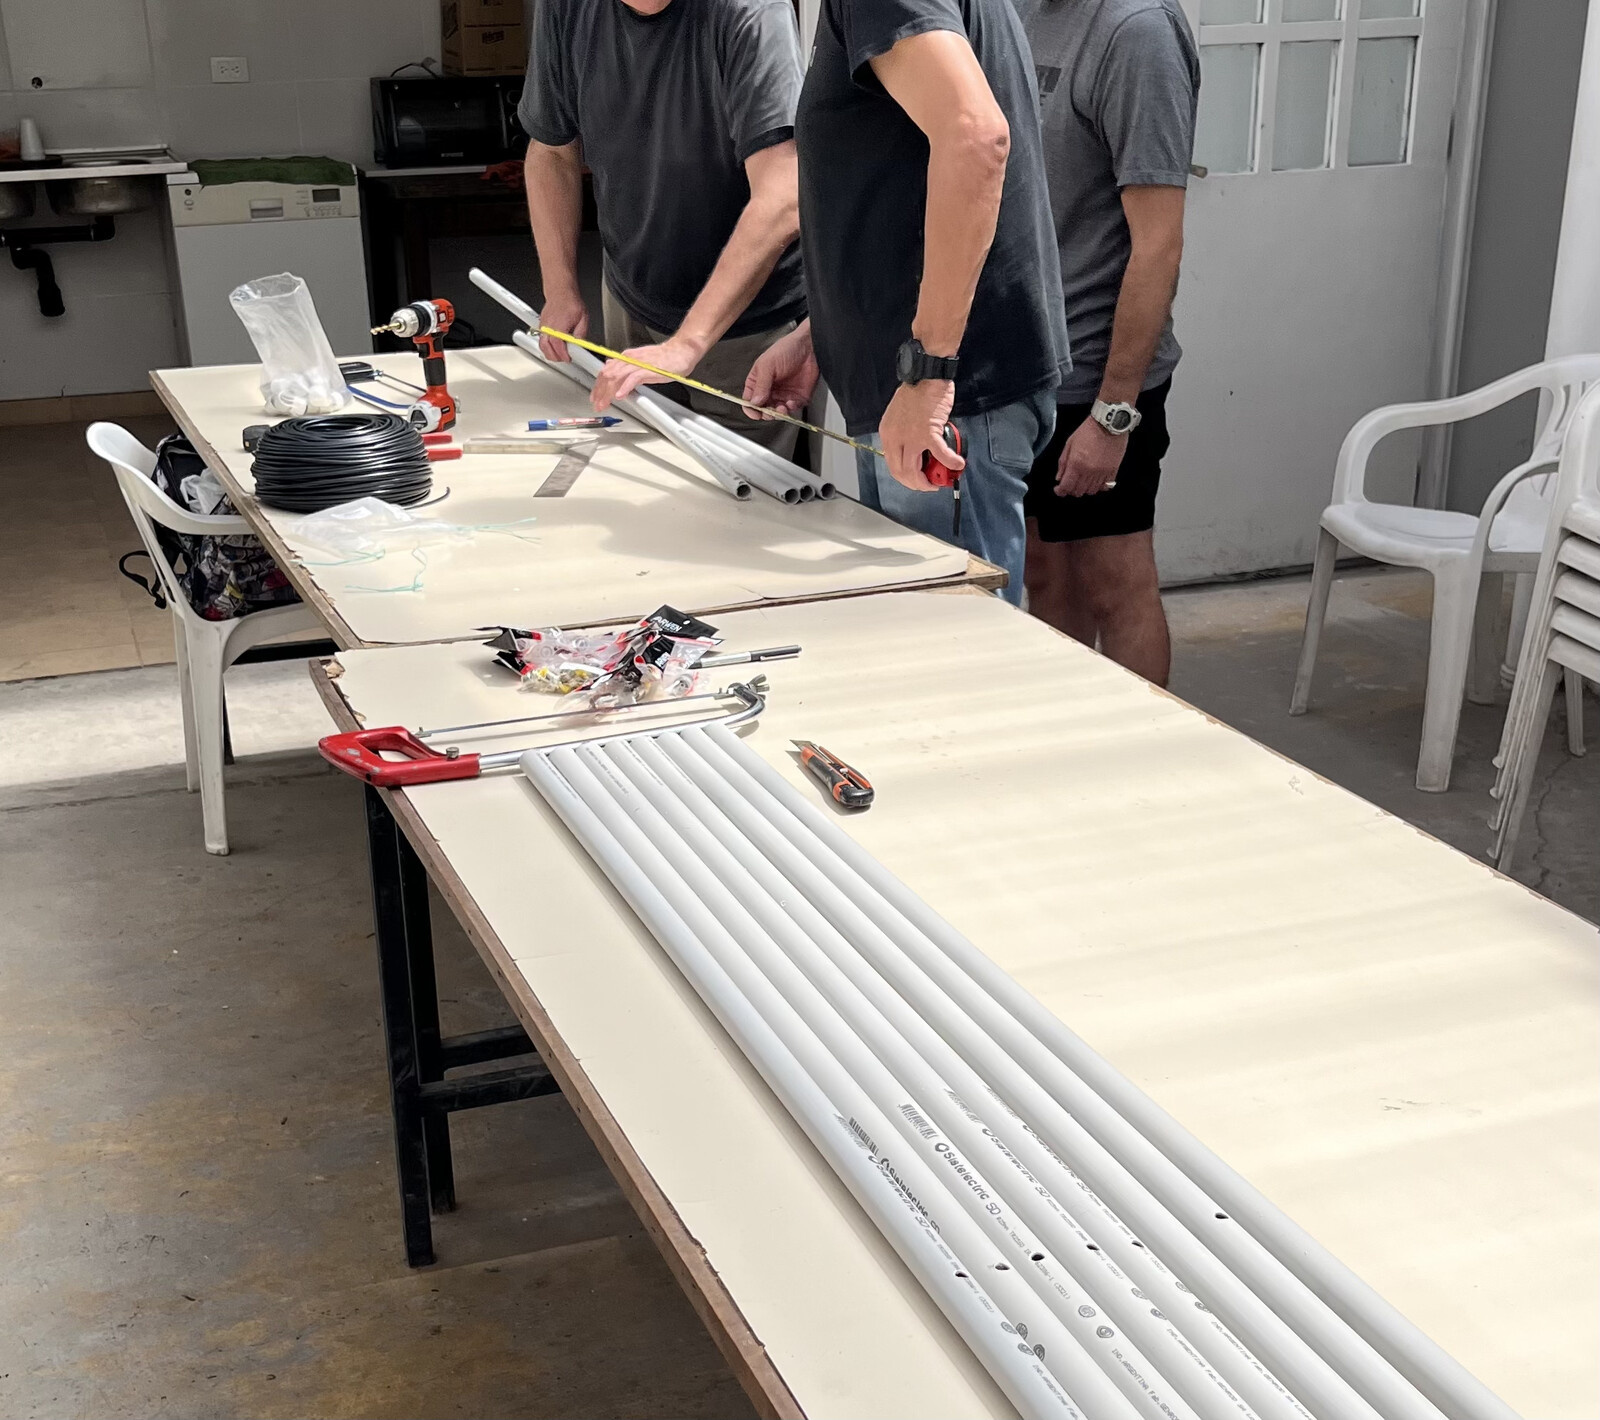
- Now measure 95 centimeters and 100 centimeters from one of the sides of the tube, make a mark, and drill two 8mm holes with the drill bit.
- Set the tube apart, and now we will concentrate on the RG-58 cable. Assuming you have the cable already cut to the amount you need (I recommend you avoid using more than 10 meters of RG-58 cable as its losses may be too high).
- Mark the cable to 47.5 centimeters from one of its ends, and remove the insulation and the shielding. You will have a 47.5 cm part of the white dielectric and the copper center conductor.
- Pass the RG-58 cable through the hole you drill in the second step towards the longest part of the tube.
- Now measure 90.5 centimeters from the side of the RG-58 wire and attach a zip tie. The zip tie will lock in the 8 mm hole from the tube.
- Attach a second zip tie at the end of the RG-58 wire where you removed the insulation. This is the end of the antenna.
-
Now, with the RG-58 cable popping out from the hole you drilled in Step 2, wire a coil of ten turns, make a new hole, and tie the cable inside the PVC tube again.
- Solder the PL-259 connector to the end of the cable.

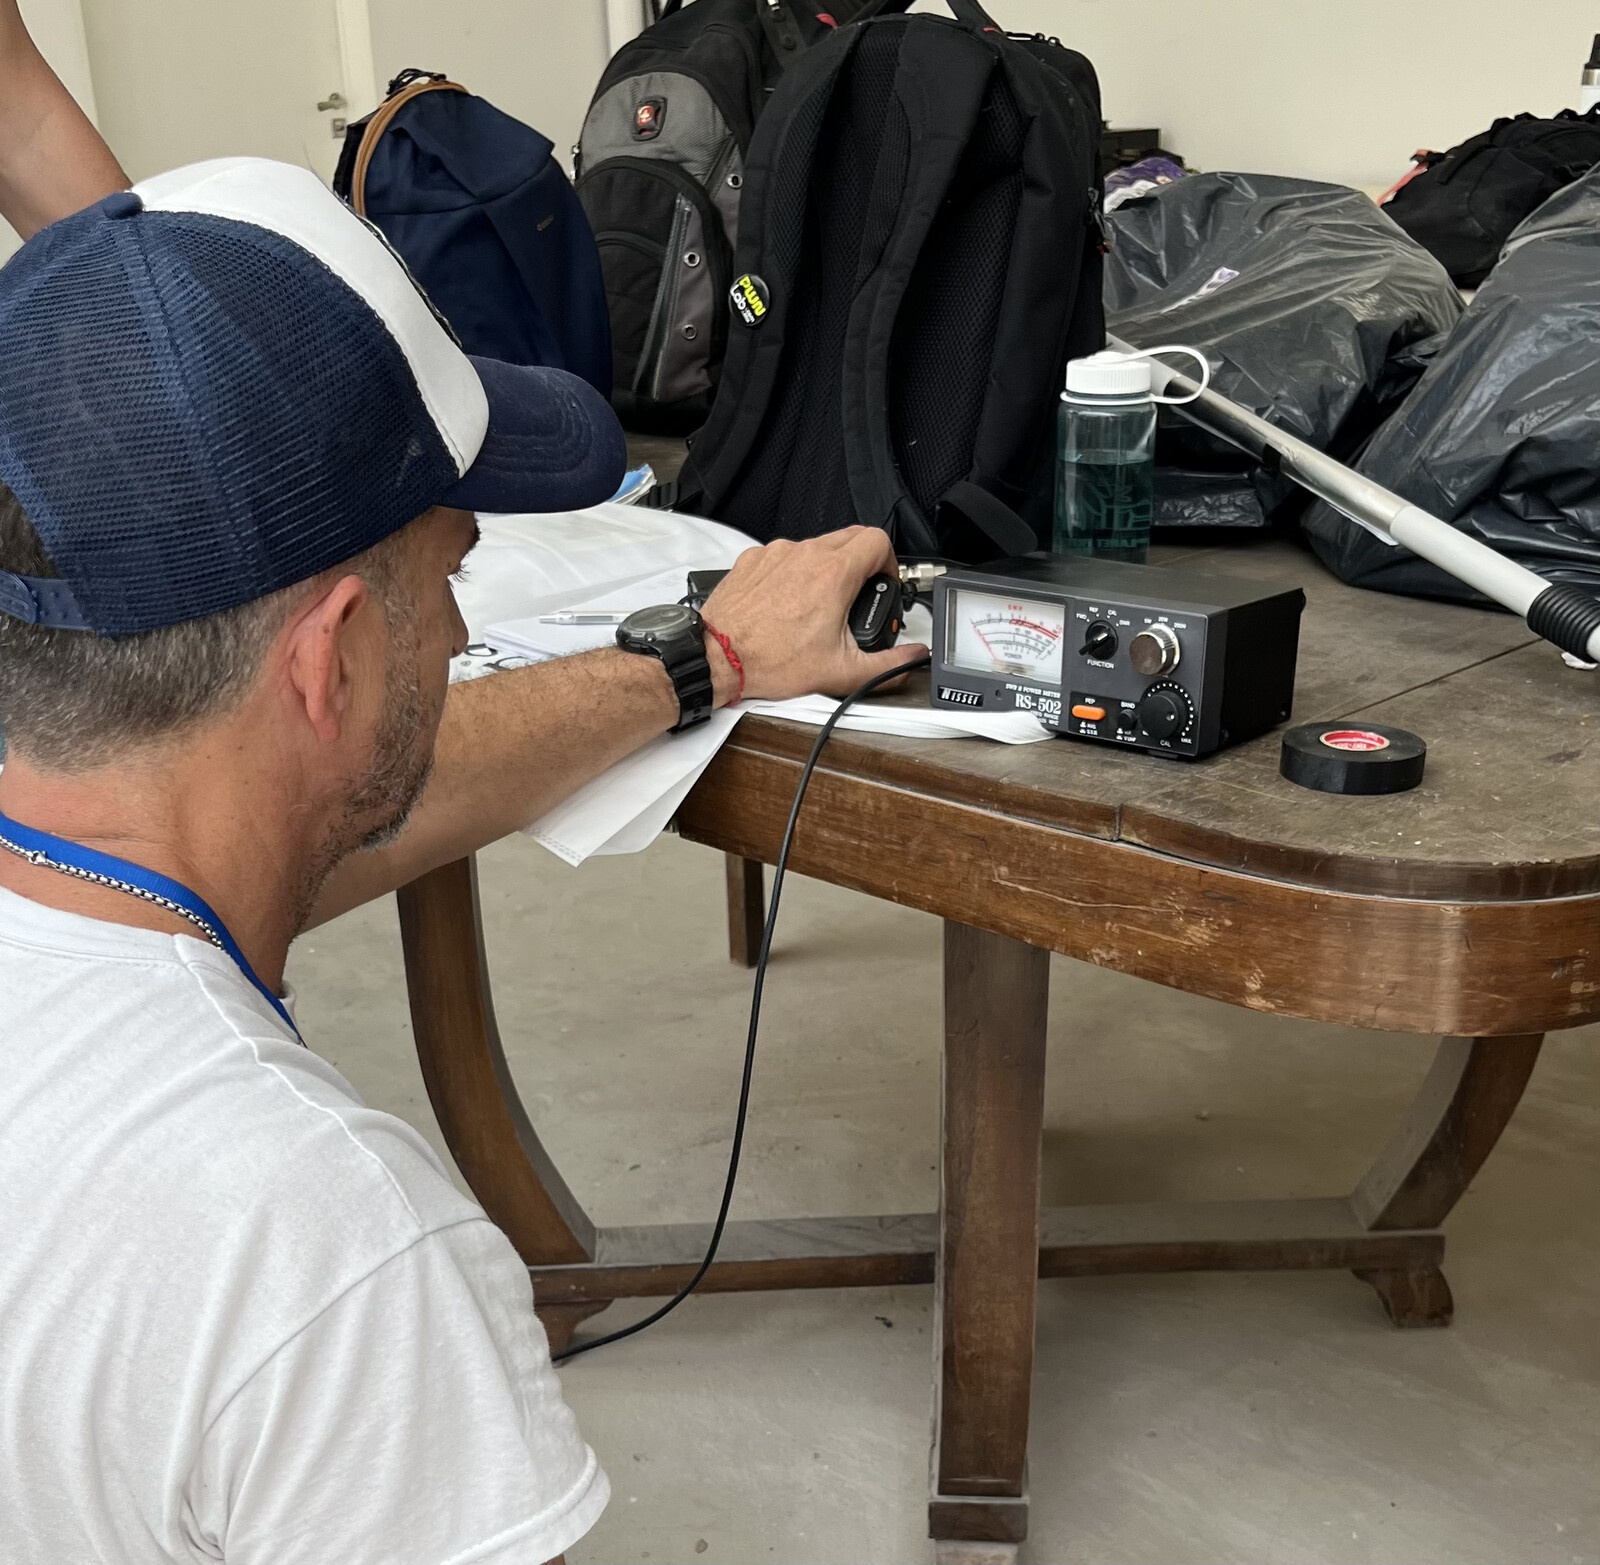
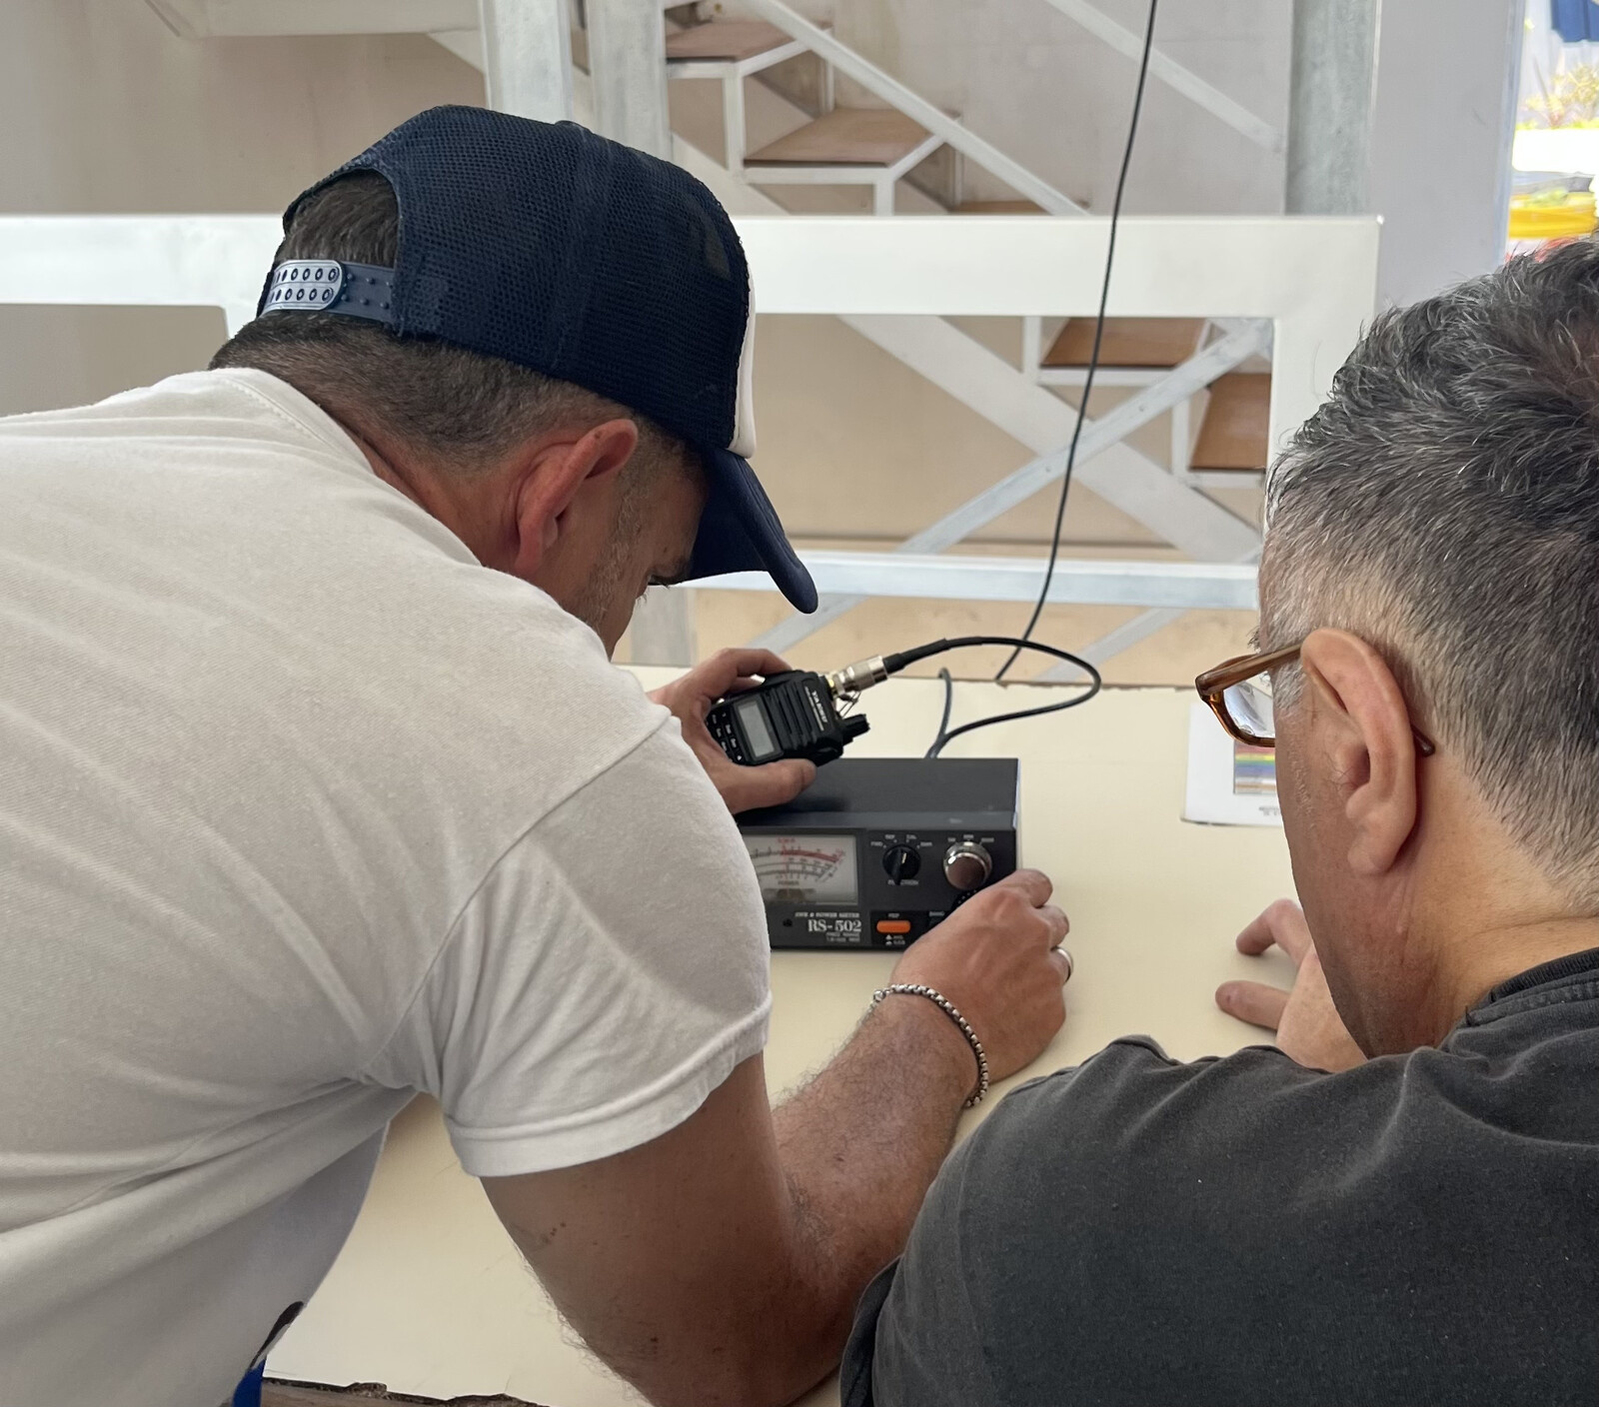
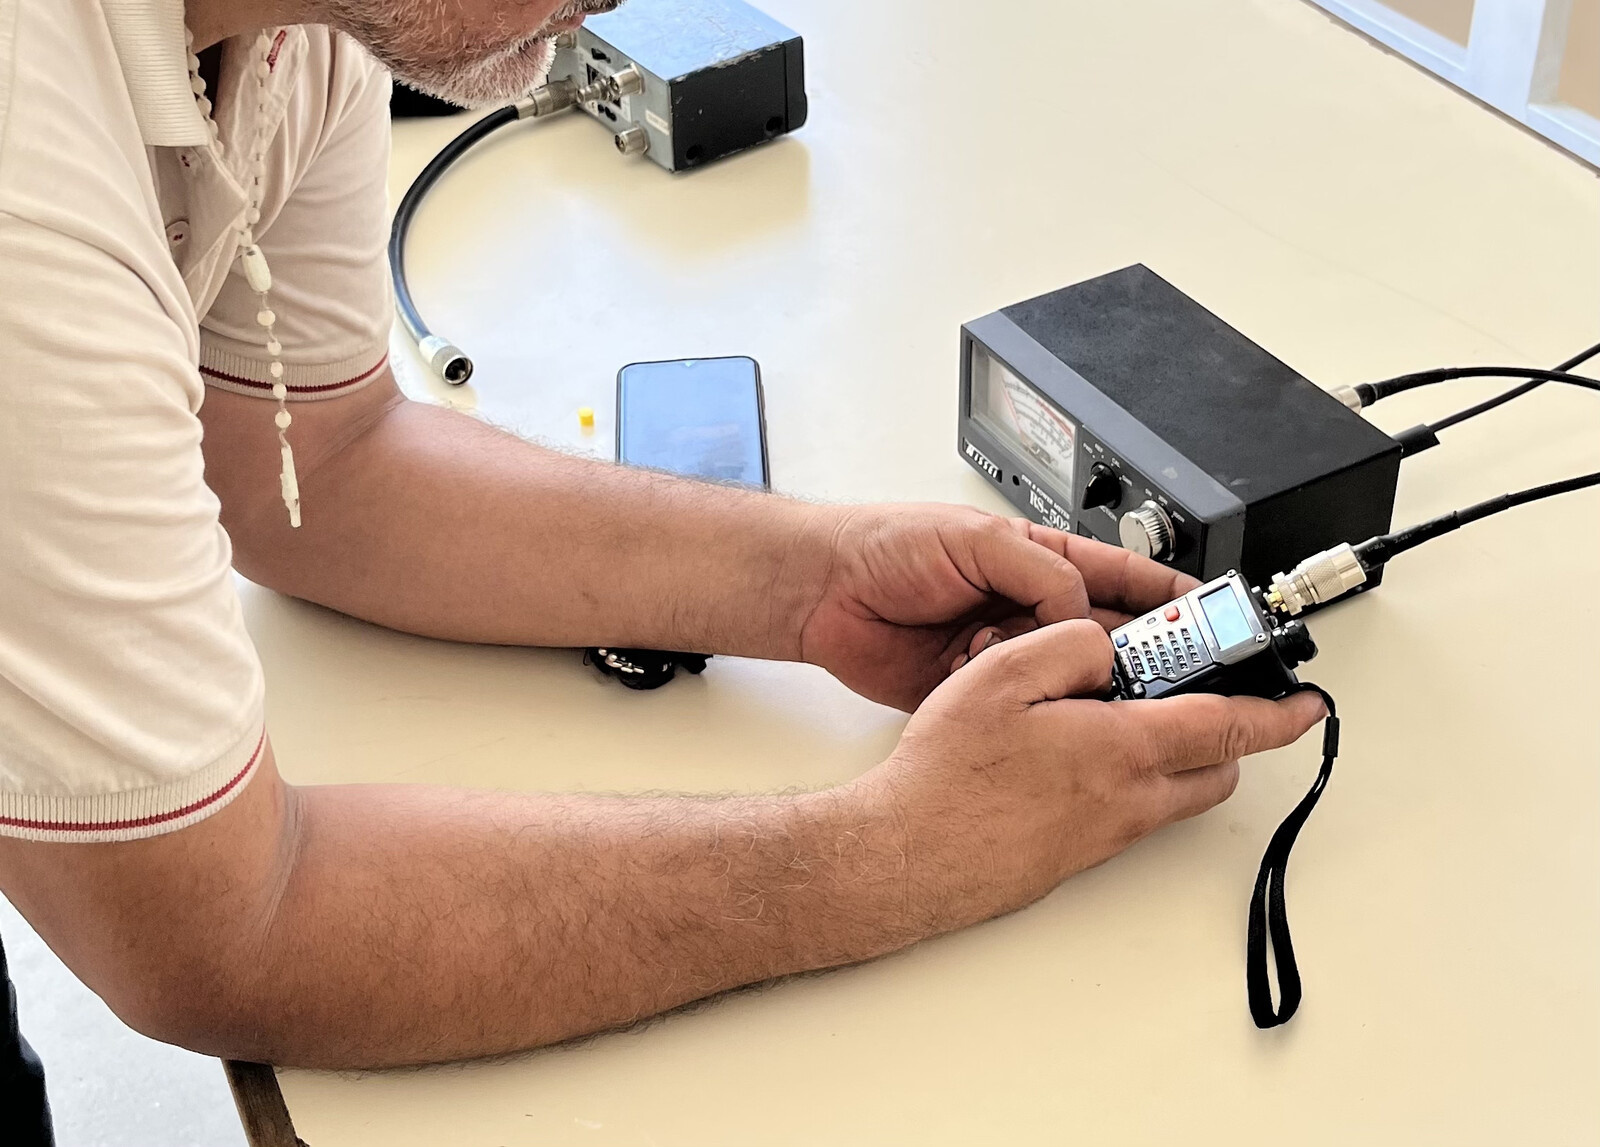
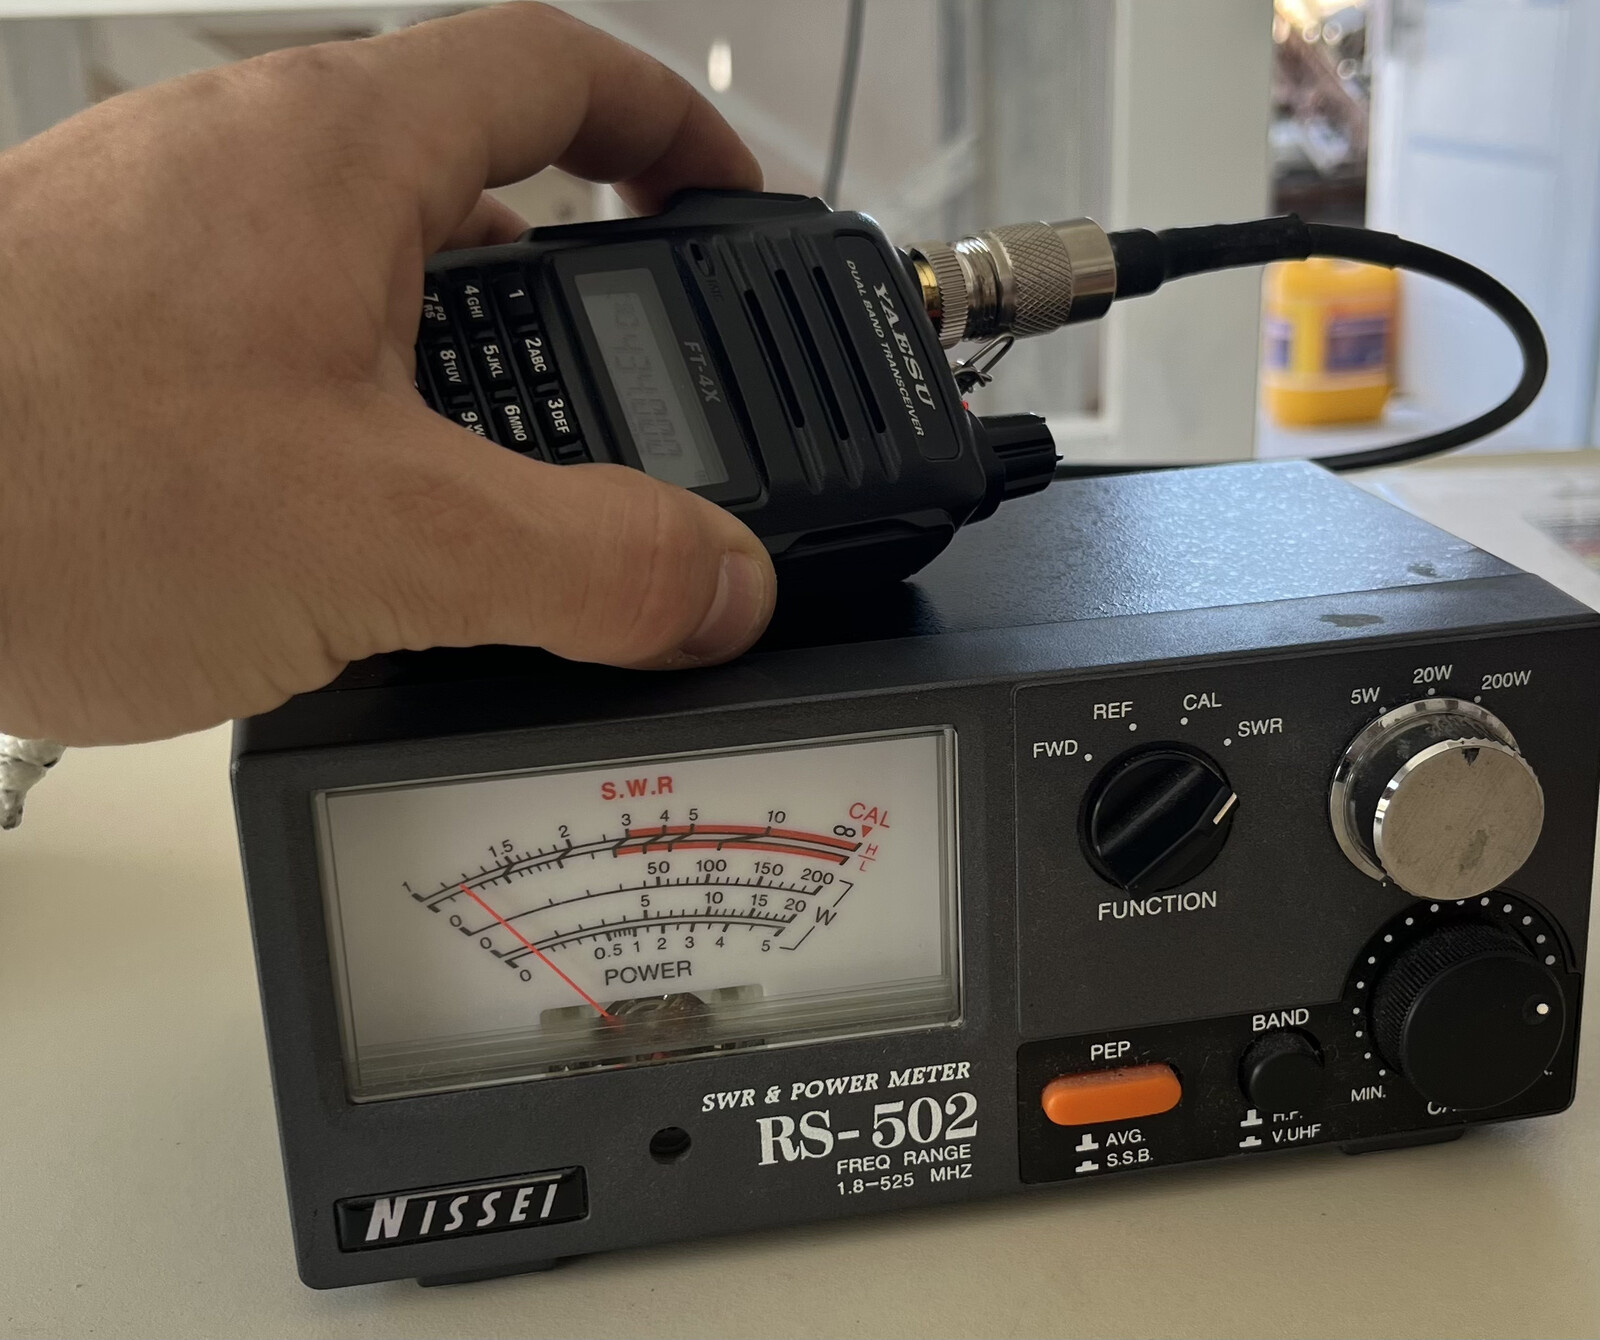
Up to this point, we have a fully working VHF Flowerpot antenna, with, hopefully, 1.1:1 to 1.2:1 SWR at 146 MHz. We can go one step further and make it work properly in the UHF segment.
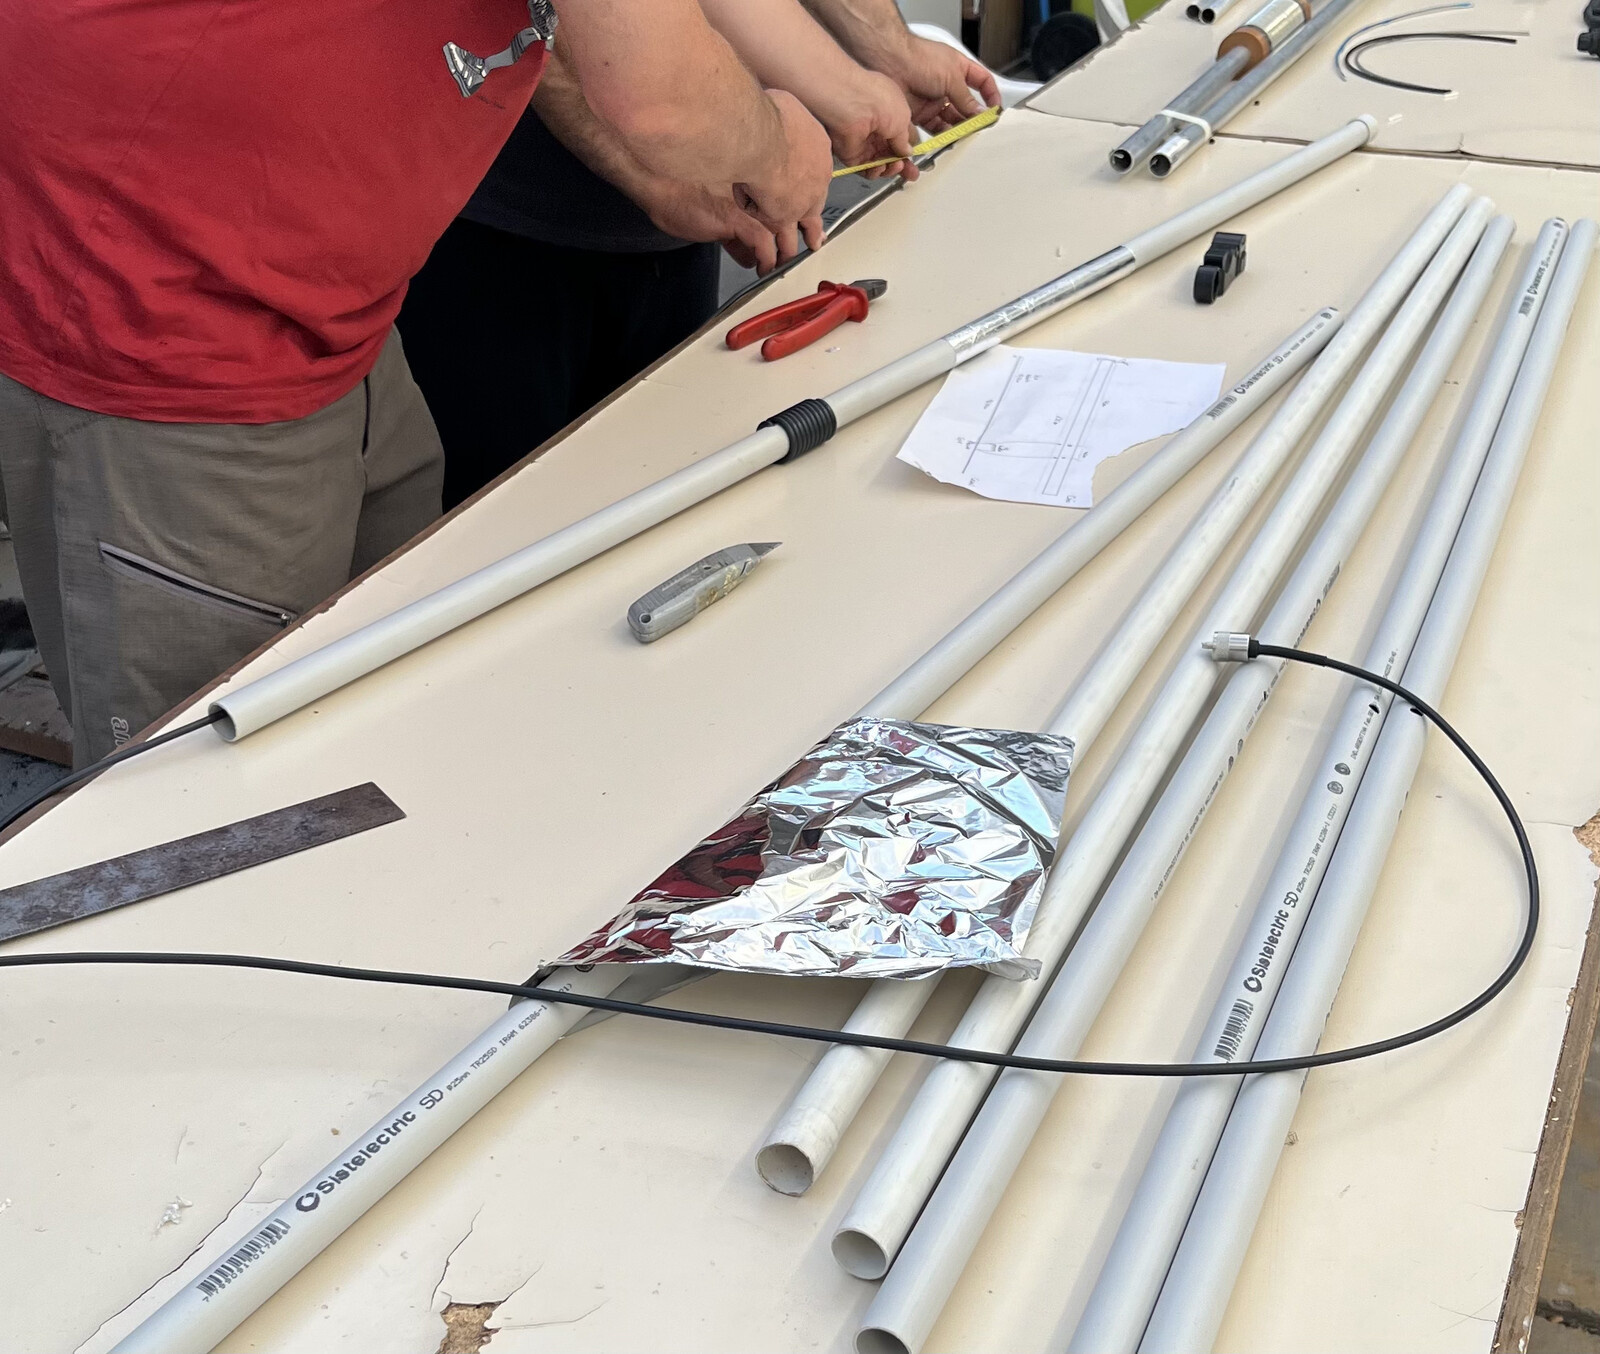
- Cut a 23.5-centimeter square of kitchen tin foil.
- Roll the tin foil square into the PVC tube between the end of the antenna and the coil.
- Set the roll 21.5 centimeters apart from the coil. We found 21.5 centimeters the best for SWR measurements in UHF, but mileage may vary.
As a final delight, I printed several antenna caps: just a 25mm inner diameter PLA cap to hold the zip tie and prevent the antenna from becoming wet inside. Here’s the STL file to download.
Huge thanks to Cesar LU1AAN and Luis LU1AIH for their disinterested help during our antenna build and measurements!
