

Migrating to Home Assistant
30 Mar 2024A few weeks ago, a friend reminded me of the simplicity and capacity of Home Assistant as a home automation framework. While I’m not reticent to changes, most of my home automation goes through Apple HomeKit, and I’m somewhat happy with it. However, HomeKit leans on the basic side. Let’s dive into a better and more privacy-aware solution for your home automation!
The last weekend, I put my hands on this new project and installed a Home Assistant Virtual Machine in my home server running Proxmox. After reading the introductory guide to Home Assistant, I decided to go with the alternative installation method, which involves importing a virtual machine image into your preferred virtualization engine. Since I’m running Proxmox, I choose the qcow2 image format. The first step is to create a virtual machine with the “Do not use any media” option selected in the OS tab, 1vCPU, and 2GB of RAM. We’ll feed the virtual machine with an already-backed OS image. Home Assistant provides this image compressed with xz, so you may want to decompress it and import it. Here are the three commands you need to install the virtual machine.
axel -n10 https://github.com/home-assistant/operating-system/releases/download/12.2/haos_ova-12.2.qcow2.xz
xz -d haos_ova-12.2.qcow2.xz
qm importdisk 123 ./haos_ova-12.2.qcow2 local-lvm --format qcow2
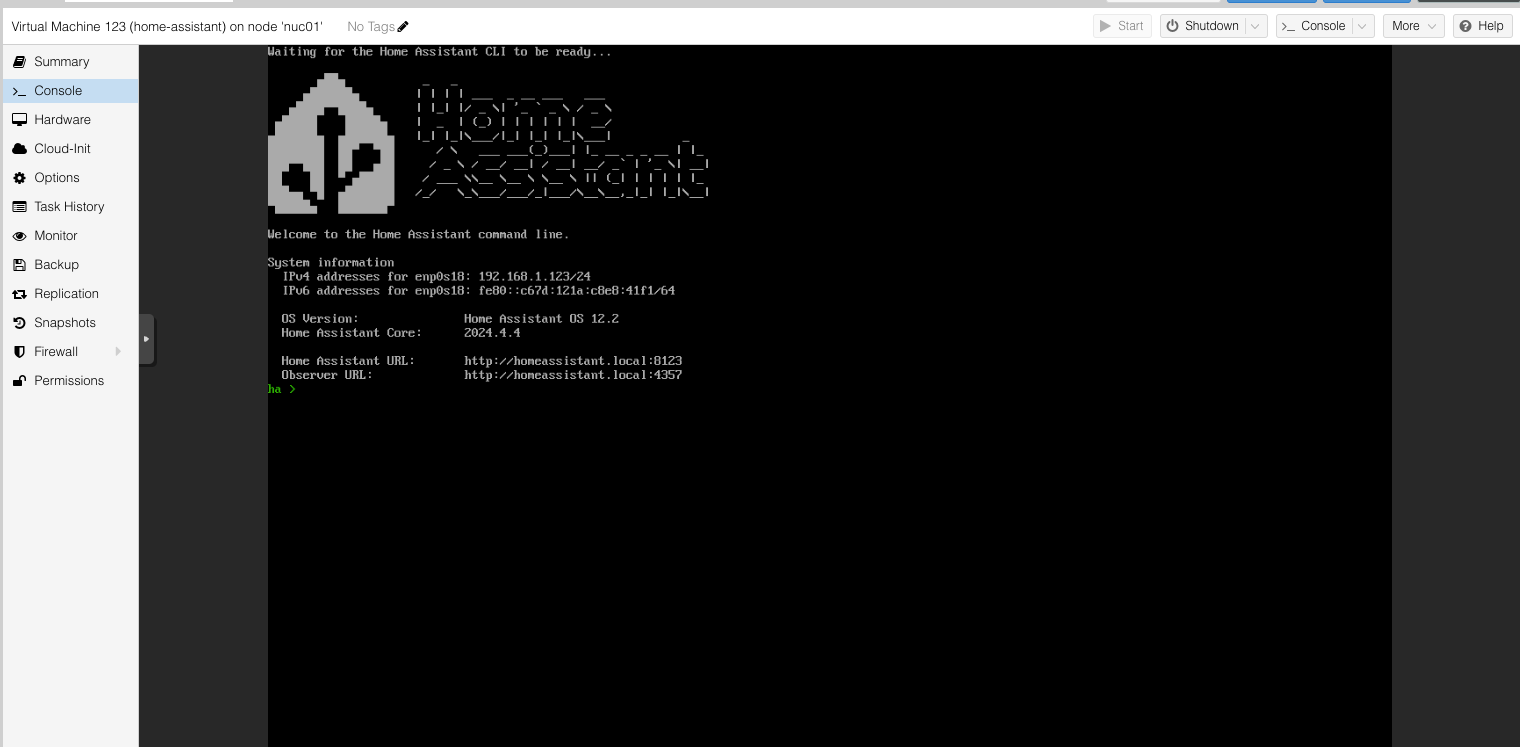
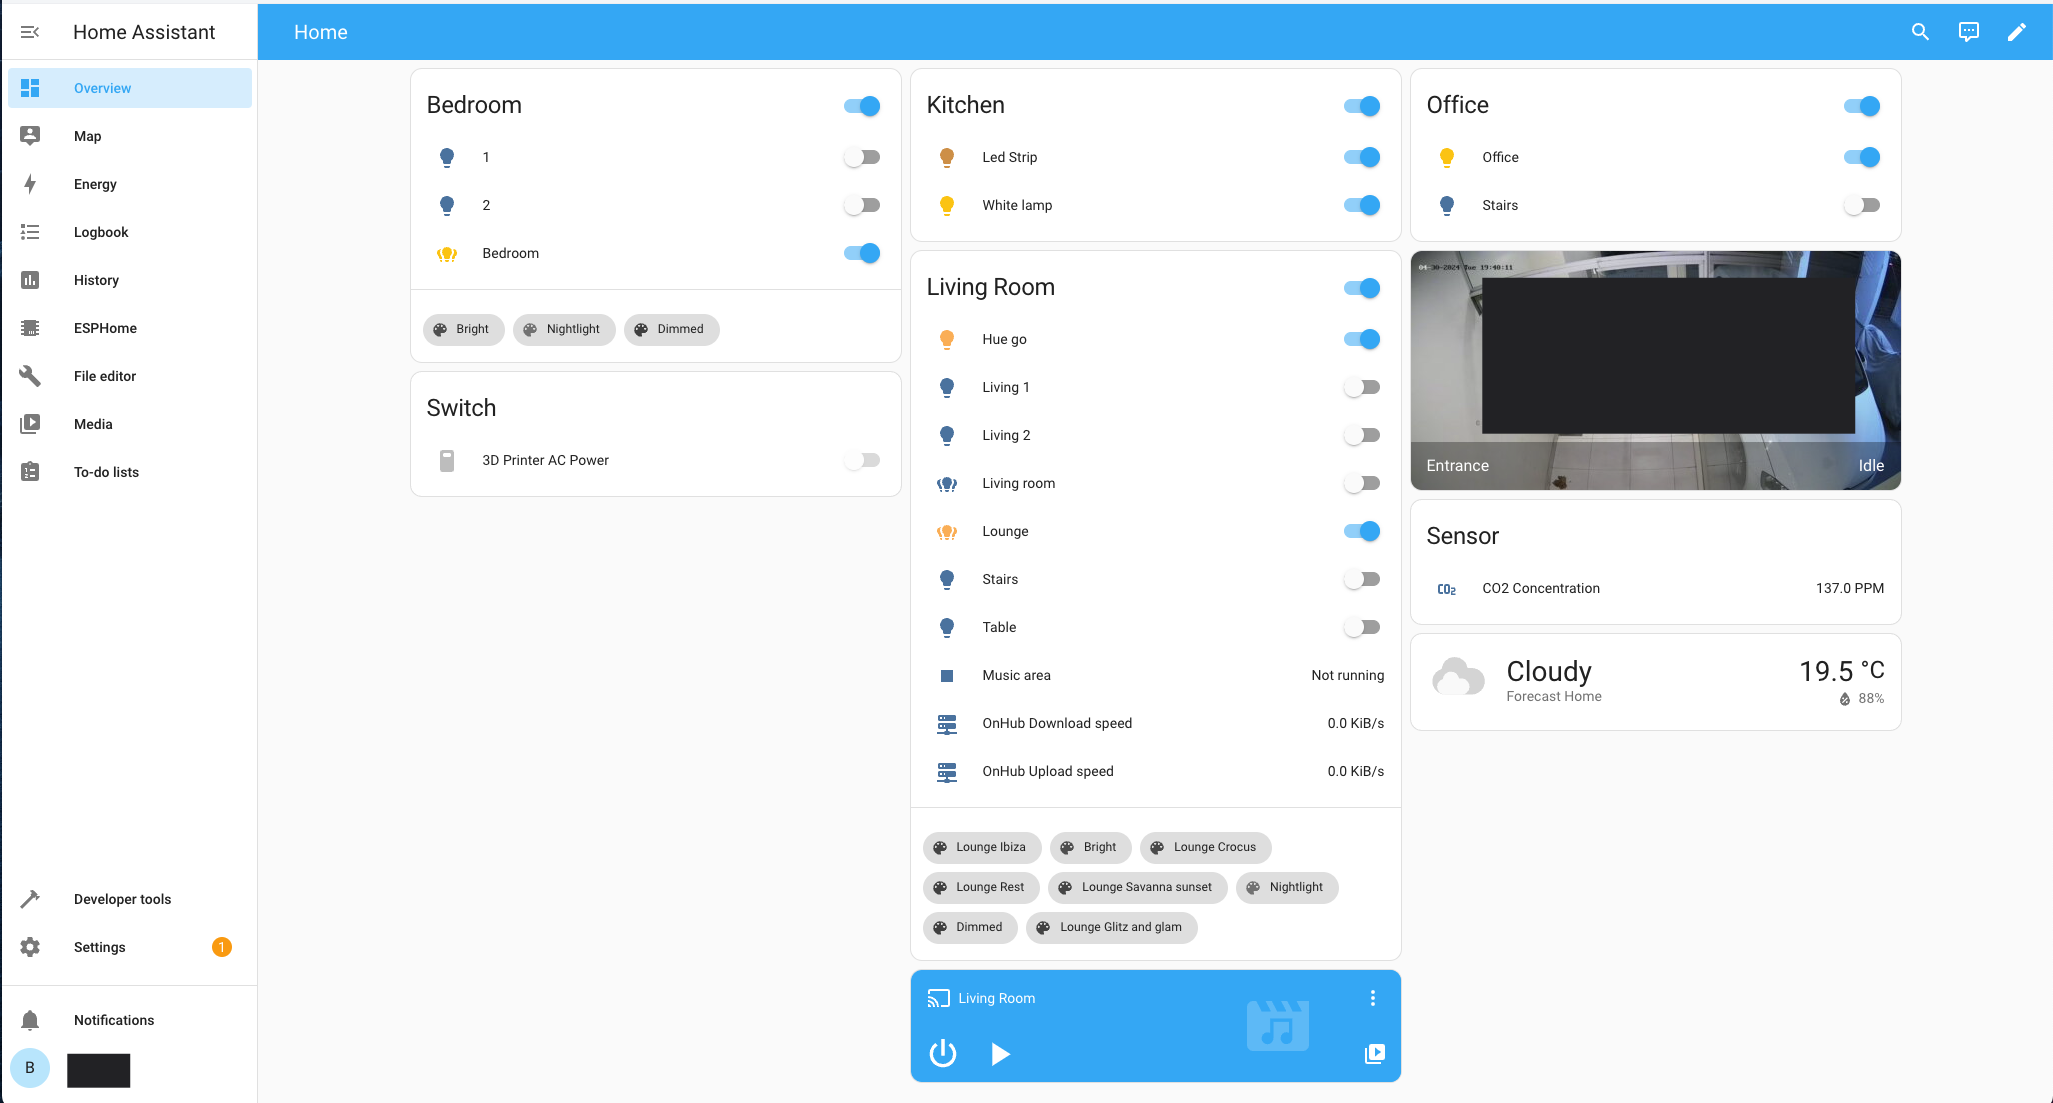
Once started, the machine will get an IP address with DHCP, but you may want to configure a static IP address. Out of the box, the Home Assistant virtual machine doesn’t have an SSH server enabled, but you can use the Proxmox console to throw commands in. Once brought up, you can access the HA web console at http://homeassistant.local:8123/
One of the first things you may want to do is install a File Editor to edit the HA configuration files inside your browser. As I’m using a reverse proxy for SSL and custom domains, I had to enable the X-Forwarded-For header and make HA aware of the reverse proxy. That was as simple as editing the configuration.yaml file and add the following block:
http:
  use_x_forwarded_for: true
  trusted_proxies:
    - 192.168.1.112
While I found HA quite powerful at the moment, I didn’t realize how good it was until I tried ESPHome. ESPHome compiles and burns custom firmware for ESP8266 and ESP32 devices to make them talk the Home Assistant protocol and then integrate them into your dashboard.
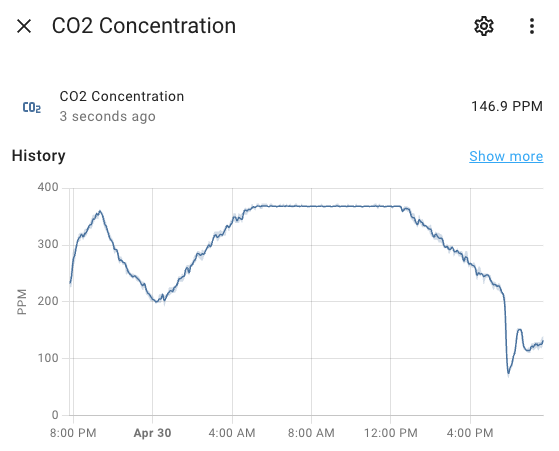
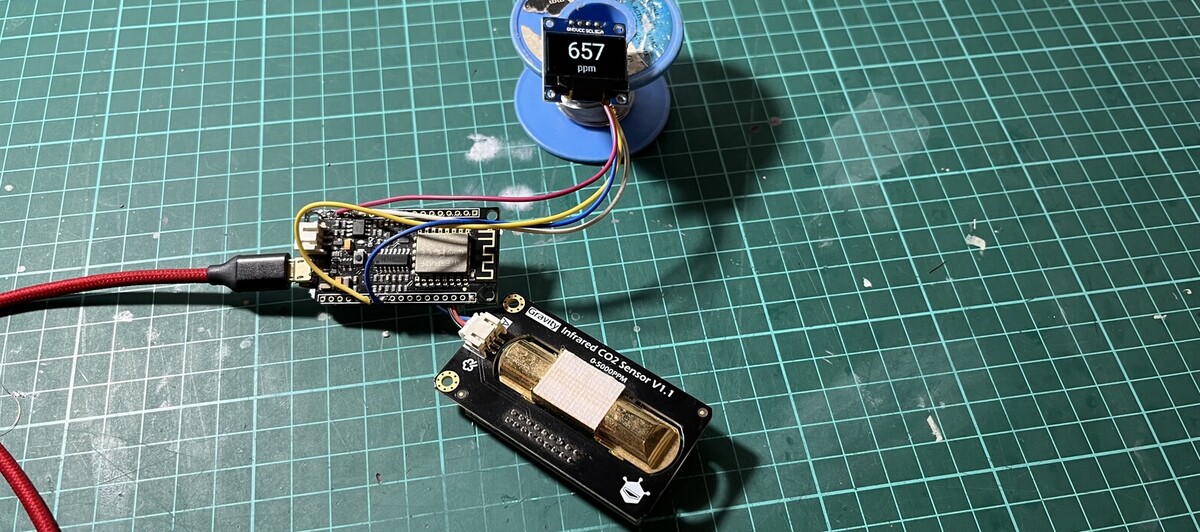
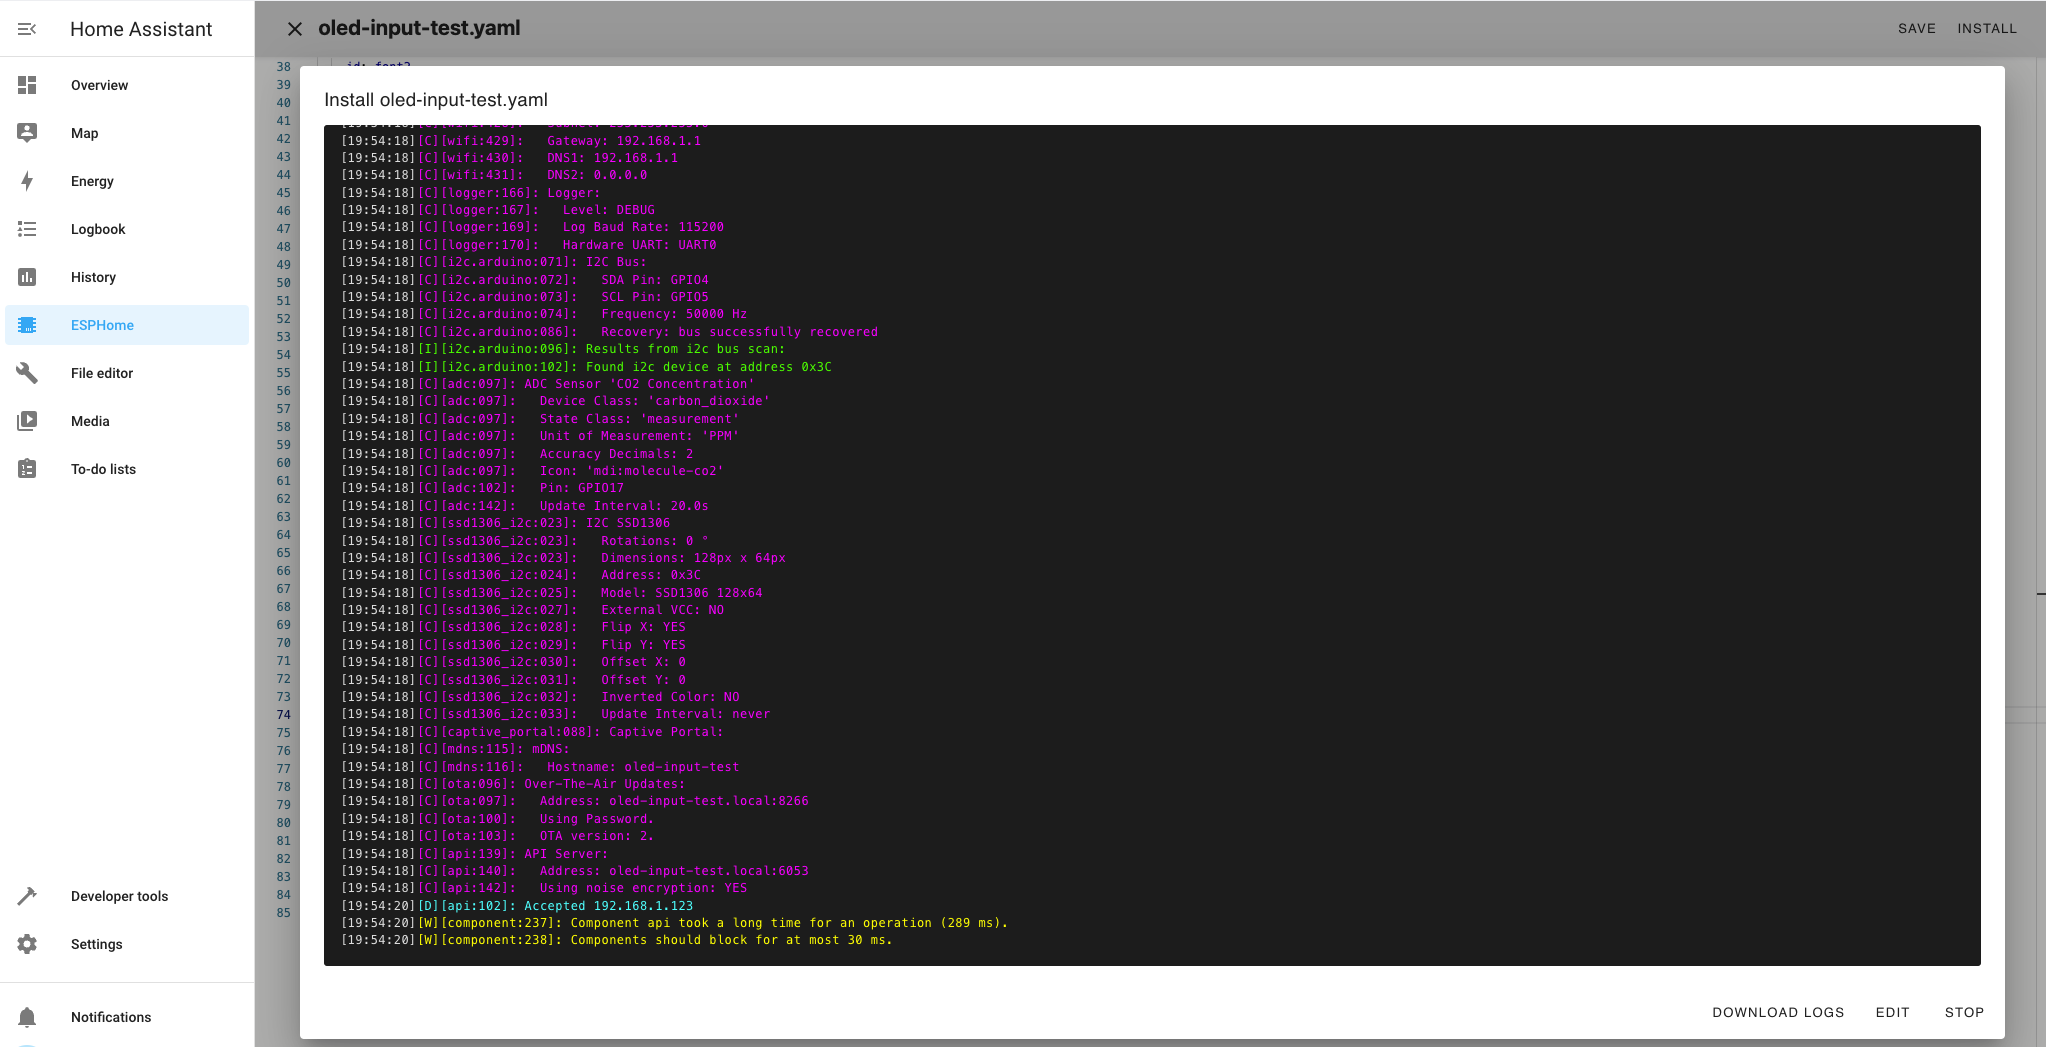
This was mind-blowing. First, I picked one Firebeetle ESP8266 from the drawer and started playing around. In HA, I had to install the ESPHome add-on from the add-ons menu and then, from the ESPHome menu, install the custom firmware into my ESP8266 directly from the browser to the MCU with a USB cable. Incredible. Then, as I couldn’t wait to try it, I hooked an SSD1306 128x64 pixels OLED screen to the ESP8266 and an analog CO2 sensor. With this little code written into the ESP8266, I got an actual measure of CO2 concentration in my Home Assistant dashboard and the OLED screen updated on each sensor refresh, which is astonishing.
esphome:
  name: oled-input-test
  friendly_name: oled-input-test
  includes:
    - text_utils.h

esp8266:
  board: nodemcuv2

font:
  - file: "gfonts://Roboto"
    id: font1
    size: 40
  - file: "gfonts://Roboto"
    id: font2
    size: 16

i2c:
  scan: true

display:
  - platform: ssd1306_i2c
    id: oled_display
    model: "SSD1306 128x64"
    update_interval: never
    address: 0x3C
    lambda: |-
      int width = GetTextWidth(&it, id(font1), "%0.f", id(co2_sensor).state);
      it.printf((128-width)/2, 0, id(font1), "%0.f", id(co2_sensor).state);
      width = GetTextWidth(&it, id(font2), "%s", "ppm");
      it.printf((128-width)/2, 45, id(font2), "ppm");

sensor:
  - platform: adc
    id: co2_sensor
    unit_of_measurement: "PPM"
    icon: "mdi:molecule-co2"
    device_class: carbon_dioxide
    state_class: measurement
    accuracy_decimals: 2
    pin: A0
    name: "CO2 Concentration"
    update_interval: 20s
    filters:
      - multiply: 3.3
      - lambda: |-
          if (x == 0) {
            ESP_LOGW("custom", "Error: Sensor reading is 0");
          } else if (x < 0.4) {
            ESP_LOGW("custom", "Pre-heating sensor");
          } else {
            float voltageDifference = x - 0.4;
            float concentration = (voltageDifference * 4600.0) / 1.6;
            ESP_LOGW("custom", "Volts measured: %f. CO2 Concentration: %f", x, concentration);
            return concentration;
          }
          return 0;
    on_value:
      then:
        - component.update: oled_display
Once coded, the same IDE warns and throws errors if you make any mistakes. If the code is clean enough, you can directly compile and upload it from the web browser wirelessly (yeah, as you’ve read, there are no wires to program the microcontroller).
You can even use custom fonts in a very simple way, even more, you can import standard C header files as I did with the text_utils.h there. text_utils.h was developed by Samuel Gundel, as seen in the Home Assistant community. It exposes a GetTextWidth method that is quite useful when printing data on screens and you want it to be centered. Here’s the text_utils.h complete code:
int GetTextBounds(esphome::display::Display* it, esphome::font::Font *font, const char *buffer)
{
    int x1 = 0;     // A pointer to store the returned x coordinate of the upper left corner in.
    int y1 = 0;     // A pointer to store the returned y coordinate of the upper left corner in.
    int width = 0;  // A pointer to store the returned text width in.
    int height = 0; // A pointer to store the returned text height in.
    it->get_text_bounds(0, 0, buffer, font, TextAlign::TOP_LEFT, &x1, &y1, &width, &height);
    return width;
}

int GetTextWidth(esphome::display::Display* it, esphome::font::Font *font, const char* formatting, const char *raw_text){
    char temp_buffer[80];
    sprintf(temp_buffer, formatting, raw_text);
    return GetTextBounds(it, font, temp_buffer);
}

int GetTextWidth(esphome::display::Display* it, esphome::font::Font *font, const char* formatting, const int raw_int){
    char temp_buffer[80];
    sprintf(temp_buffer, formatting, raw_int);
    return GetTextBounds(it, font, temp_buffer);
}

int GetTextWidth(esphome::display::Display* it, esphome::font::Font *font, const char* formatting, const float raw_float){
    char temp_buffer[80];
    sprintf(temp_buffer, formatting, raw_float);
    return GetTextBounds(it, font, temp_buffer);
}

// Calculate the width of time format
int GetTextWidth(esphome::display::Display* it, esphome::font::Font *font, const char* formatting, esphome::ESPTime time){
    auto c_tm = time.to_c_tm();
    size_t buffer_length = 80;
    char temp_buffer[buffer_length];
    strftime(temp_buffer, buffer_length, formatting, &c_tm);
    return GetTextBounds(it, font, temp_buffer);
}
Remember my kill-switch project for the 3D printer? It’s nonsense to code and set up a static IP address in the box, mess with your browser when entering the host and the port, and code the HTML.
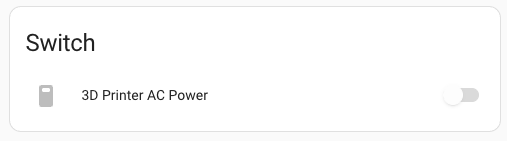
With Home Assistant and ESPHome, it is as easy as a few lines of YAML. The only drawback here is that as I was using an ESP-01 microcontroller, I had no luck getting it into bootloader mode. Fortunately, ESPHome can compile the code and give you the .bin file to upload through the esptool’s command-line interface. See how small the code is; it does exactly the same as my long spaghetti code. I love it.
esphome:
  name: 3d-printer-power
  friendly_name: 3d-printer-power
  on_boot:
    - priority: 90
      then:
      - switch.turn_on: output_high

esp8266:
  board: esp01_1m

switch:
  - platform: gpio
    name: "3D Printer Power"
    pin: 2
    inverted: false
    id: output_high
I plan to migrate my entire automation stack to Home Assistant. The complicated stuff may live in the air conditioner remote control for Apple’s HomeKit protocol.