

Lights on the Honda Cub EZ90
30 Aug 2023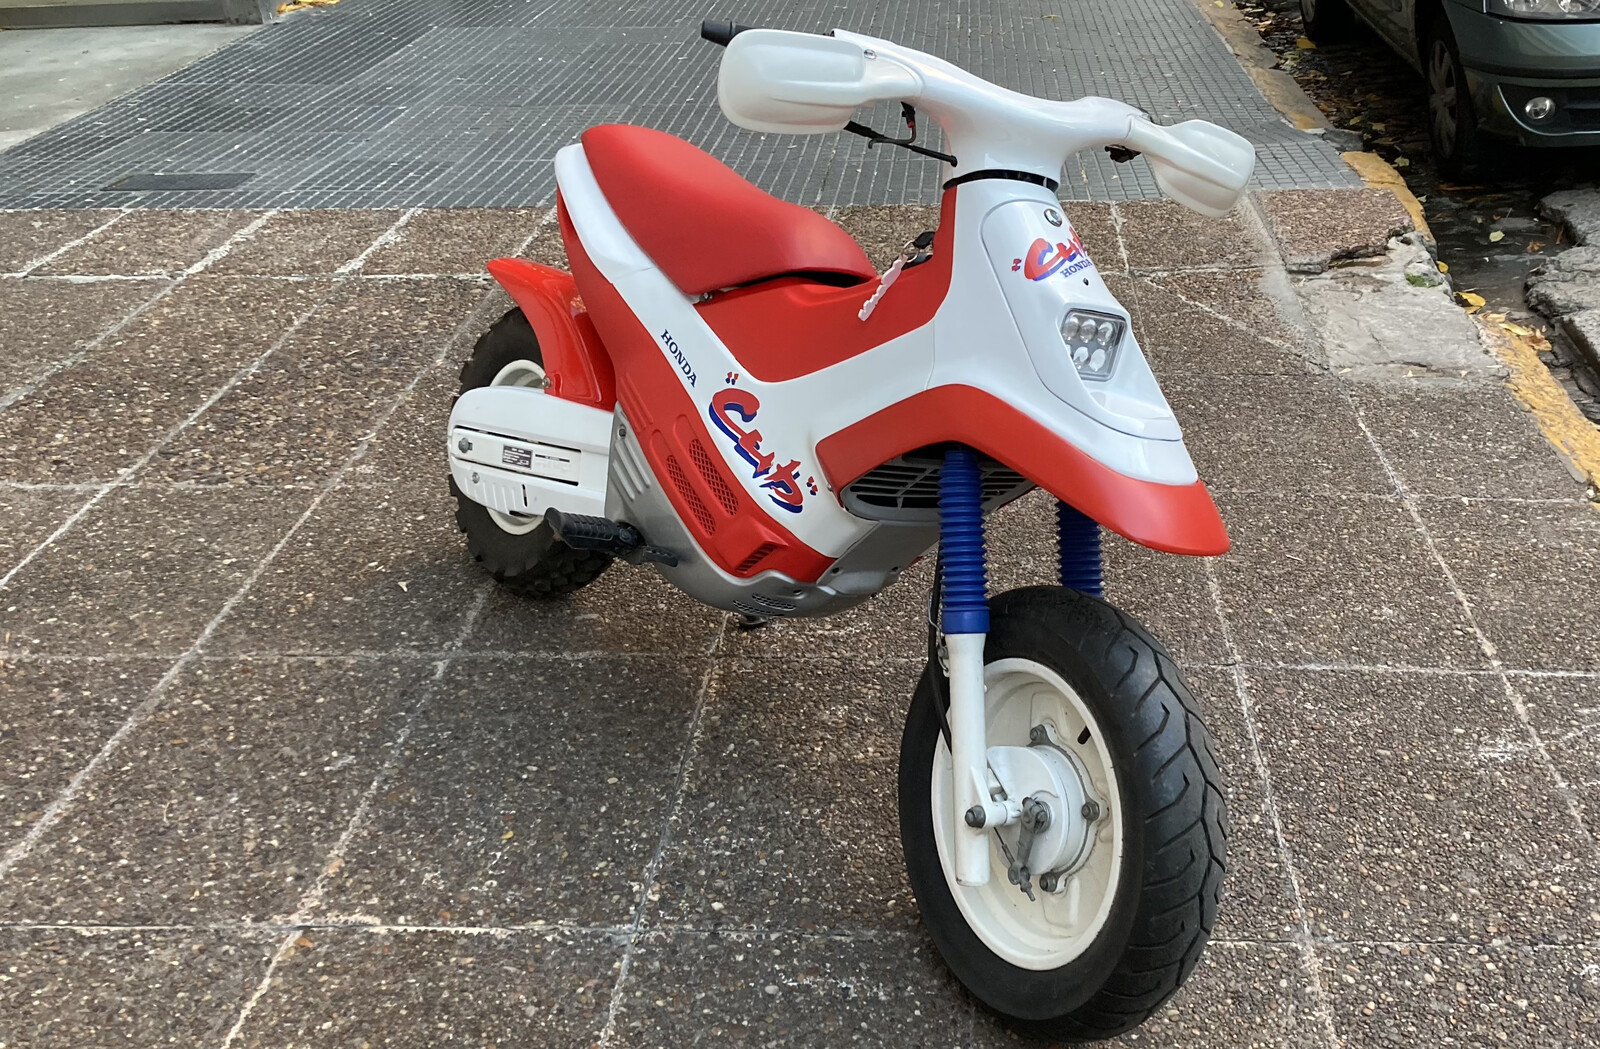
My love for the Honda Cub EZ90 remains steadfast. It’s a nostalgic reminder of 90s motorsports glory. The Cub EZ90, stripped of lights, horn, and mirrors, is a beast in its own right, perfect for rough terrains and farm work. But I wanted to go a bit far with it and use it on the streets, in the big city.
The idea
The plan was simple yet audacious: install low and high-beam headlights on the bike, with the low beam serving as a daytime light as well. Additionally, I intended to add front and rear turn signals, brake lights, and a horn. And why stop there? Mirrors, too!
Parts
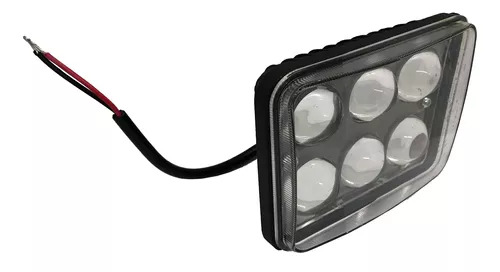
- Front light: I choose an IAEL IAL-18CE, 18w, 6-led, waterproof light. I think it has a great size, it’s lightweight enough and the size is more or less what I need, regarding what I have in mind.
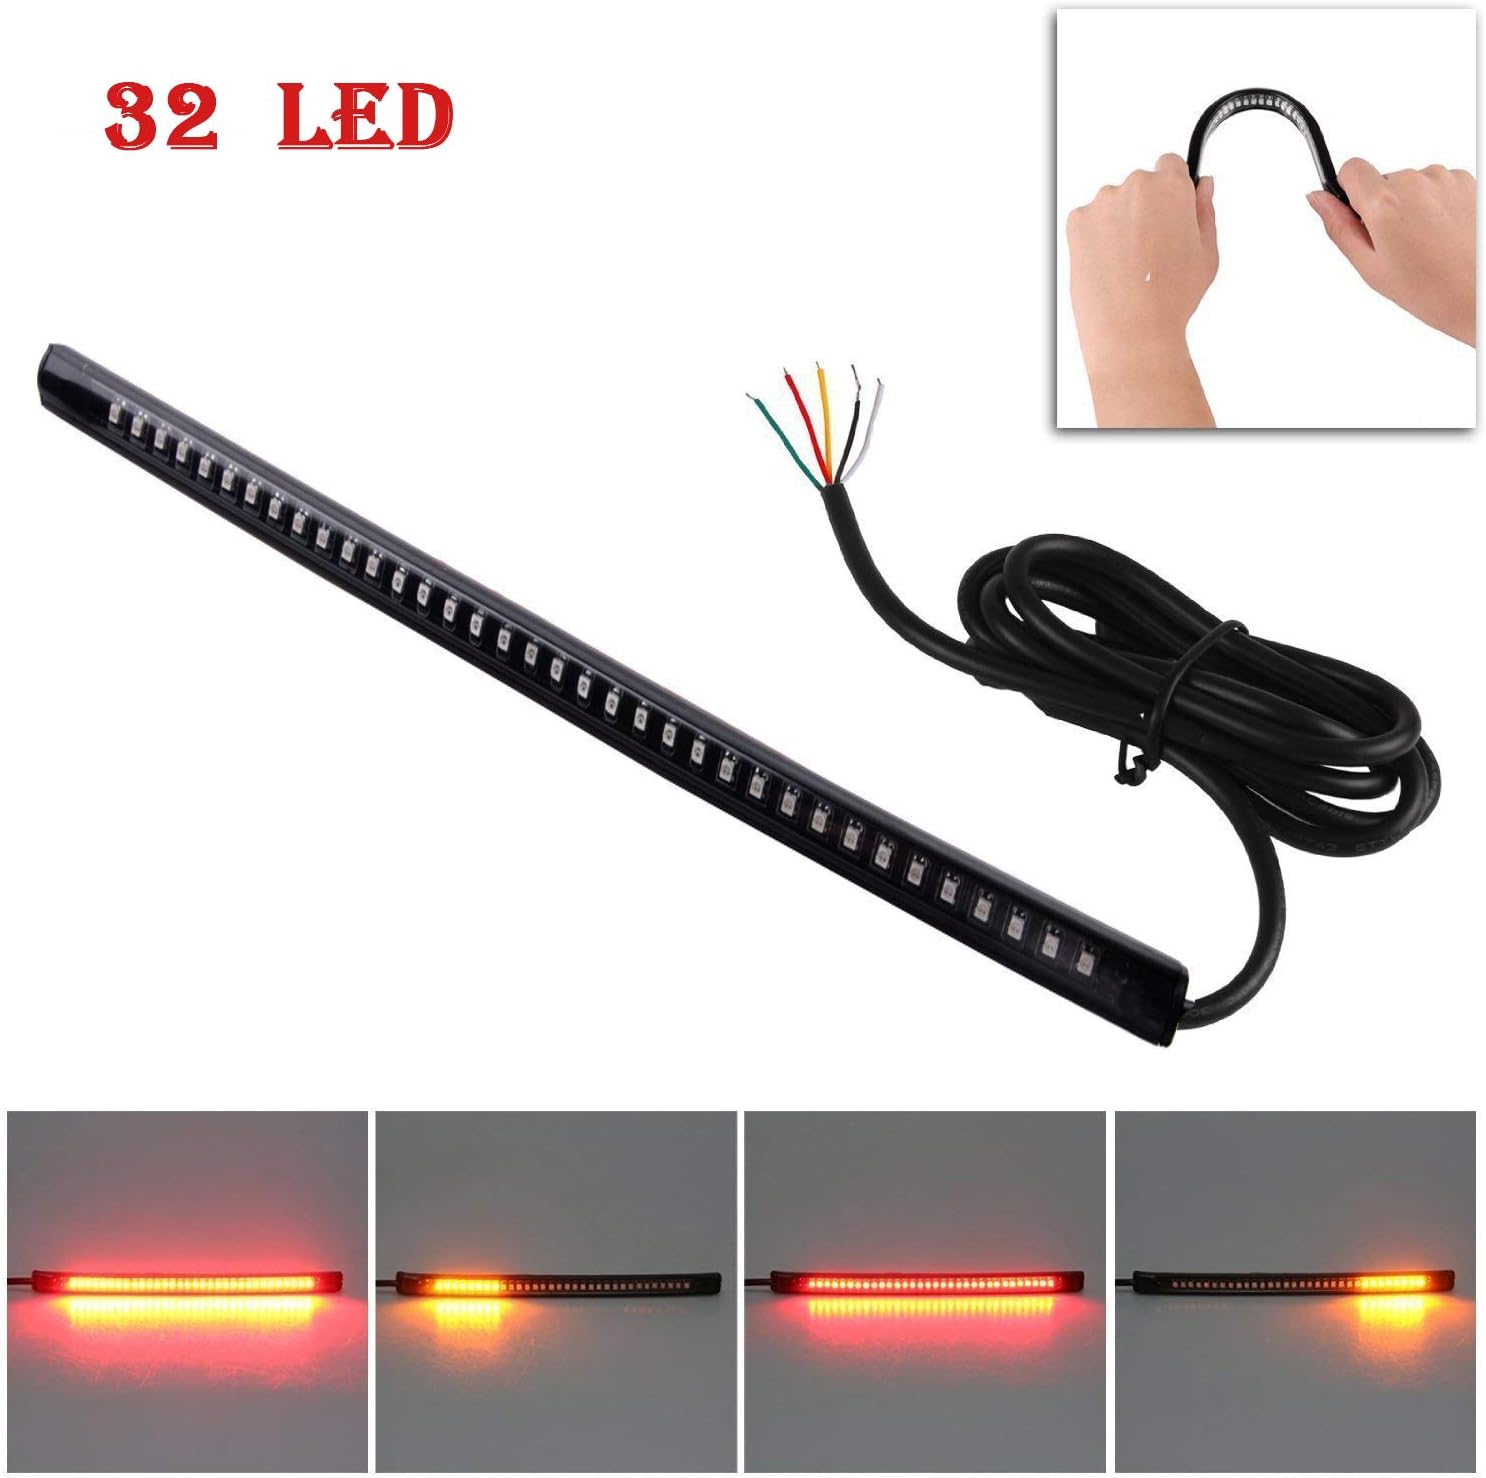
- Rear light: For the rear lights I wanted something complete: Day runtime lights, brake lights, and turn lights. Digging into the Internet I found a flexible 32-led strip with all the functions I needed.
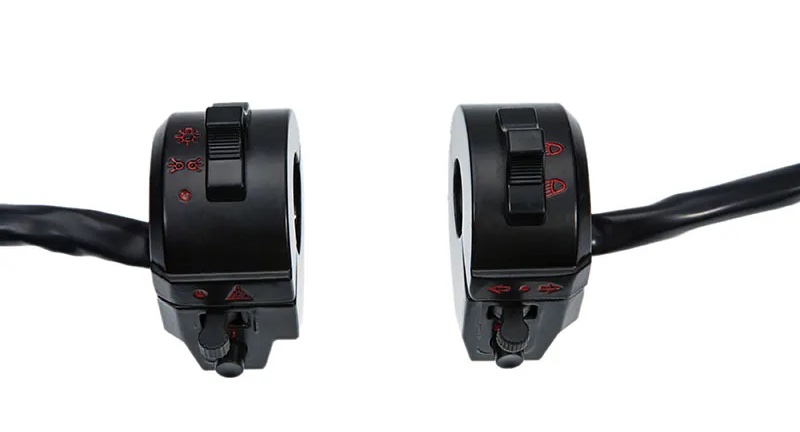
- Light commands: Again, digging into the Internet I’ve found a generic light command intended to be used in motorcycles. This is a 22mm handlebar motorcycle command, that has two commands (one for each side of the handlebar), but we’ll end up using just one of them.
- Horn: This is just a generic 12v horn, intended to be used in motorcycles. Nothing too special.
- Wires, switches, connectors, etceteras: I used two 6-way generic cable connectors and 0.5-0.75mm wires. I also used two small, latch-type electronic microswitches for the brake handles. I had to buy an LED flasher for the turn signals and an inverter relay to turn off all lights during cranking.
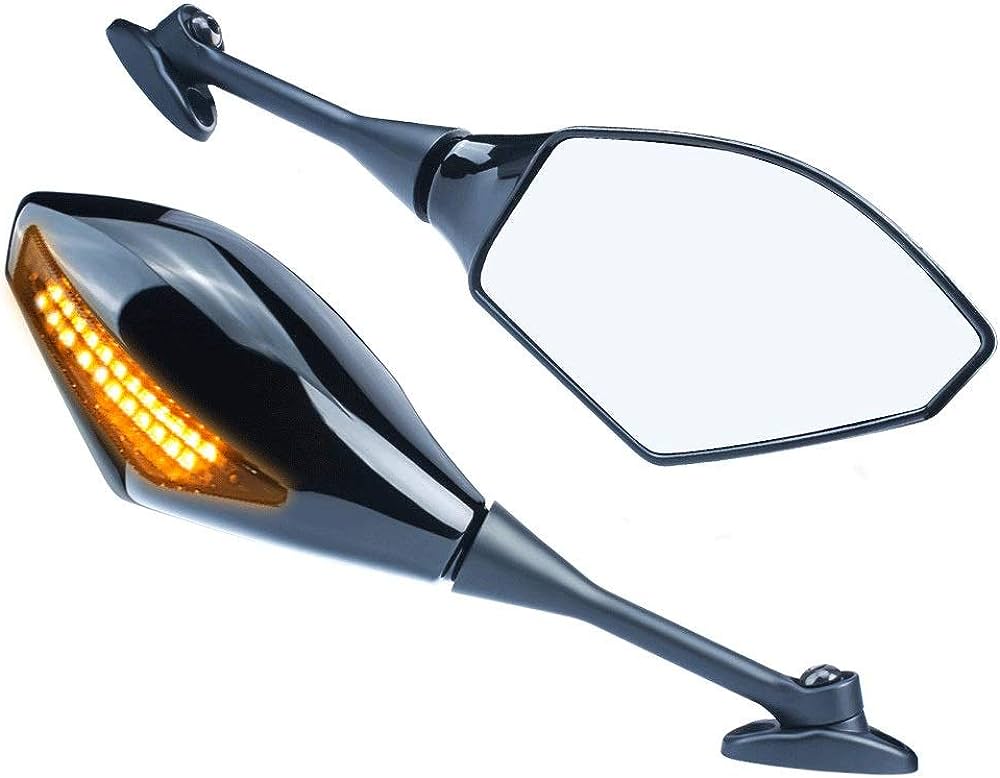
- Mirrors: These were a great find! They not only are generic small mirrors, but they also have orange LEDs in front, that can be used as turn lights in front of the bike.
Execution
Front light
After purchasing all the necessary parts, I reached out to Walter for assistance in adapting the IAEL IAL-18CE light to the front cover I had acquired. Walter quickly got to work on the cover and produced the following result:
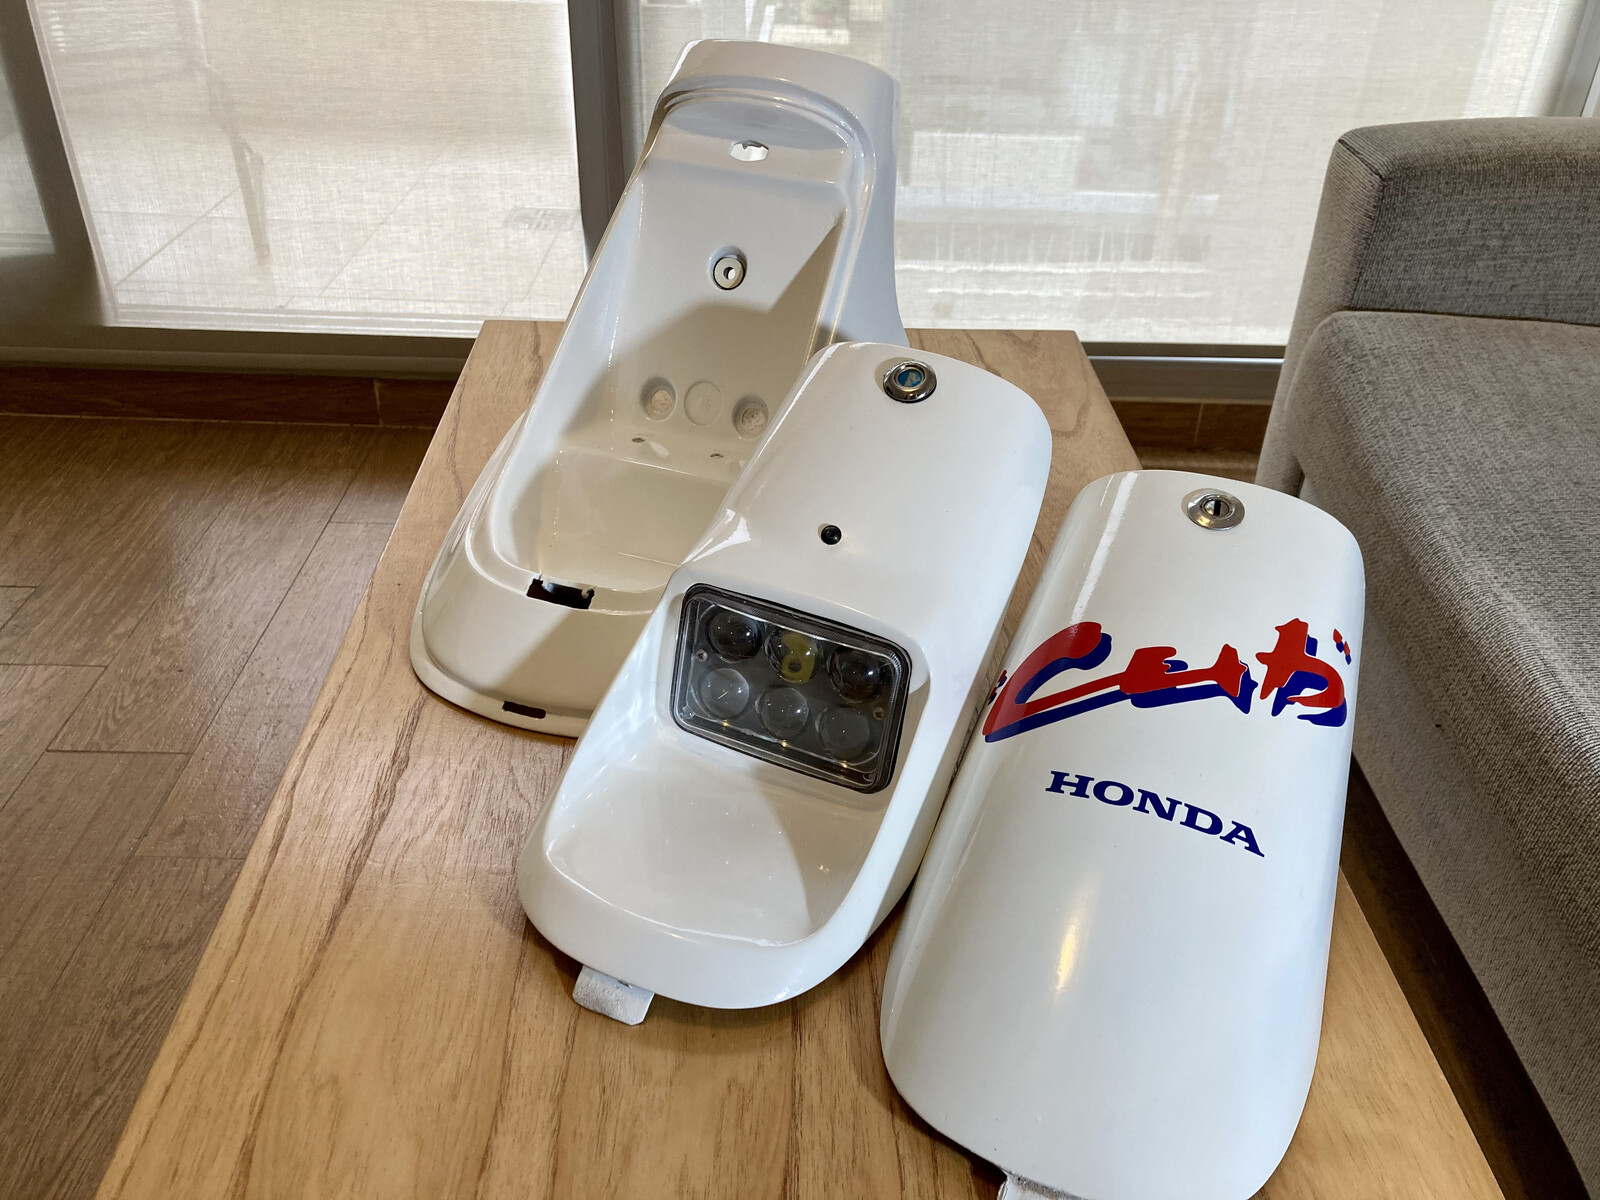
For wiring, the light consists of three wires: ground, low beam, and high beam. The low beam light is always on while the motorcycle is running, making it perfect for use as a daytime running light. The high beam will be controlled by the light command. Don’t forget to add a generic connector so you can detach the front light when replacing the front cover.
Front turn signals and mirrors
Although the mirrors may not be aesthetically pleasing, they serve a practical purpose when running down streets full of cars. Additionally, the mirrors have orange LEDs on their bodies, making them even more useful. To install them, use the 10mm bolt for the handguards and two small electronic connectors to allow for easy removal when necessary.
Light commands
As I said earlier, we’ll be using just one of the two light commands, which is the right one (but situated on the right side). This is the wiring pinout, whereas:
- Brown (6): Common for low and high beam.
- White (7): Low beam output.
- Blue (8): High beam output.
- Gray (2): Common for left and right turn signals.
- Light blue (1): Right turn signal output.
- Orange (3): Left turn signal output.
- Turquoise (4): Common for the horn.
- Green (5): Horn signal output.
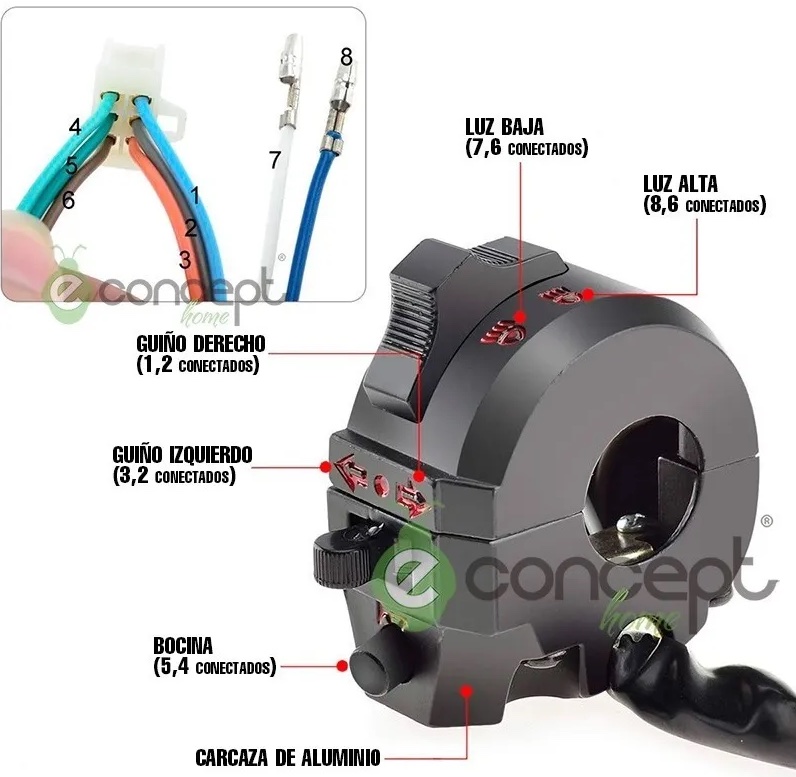
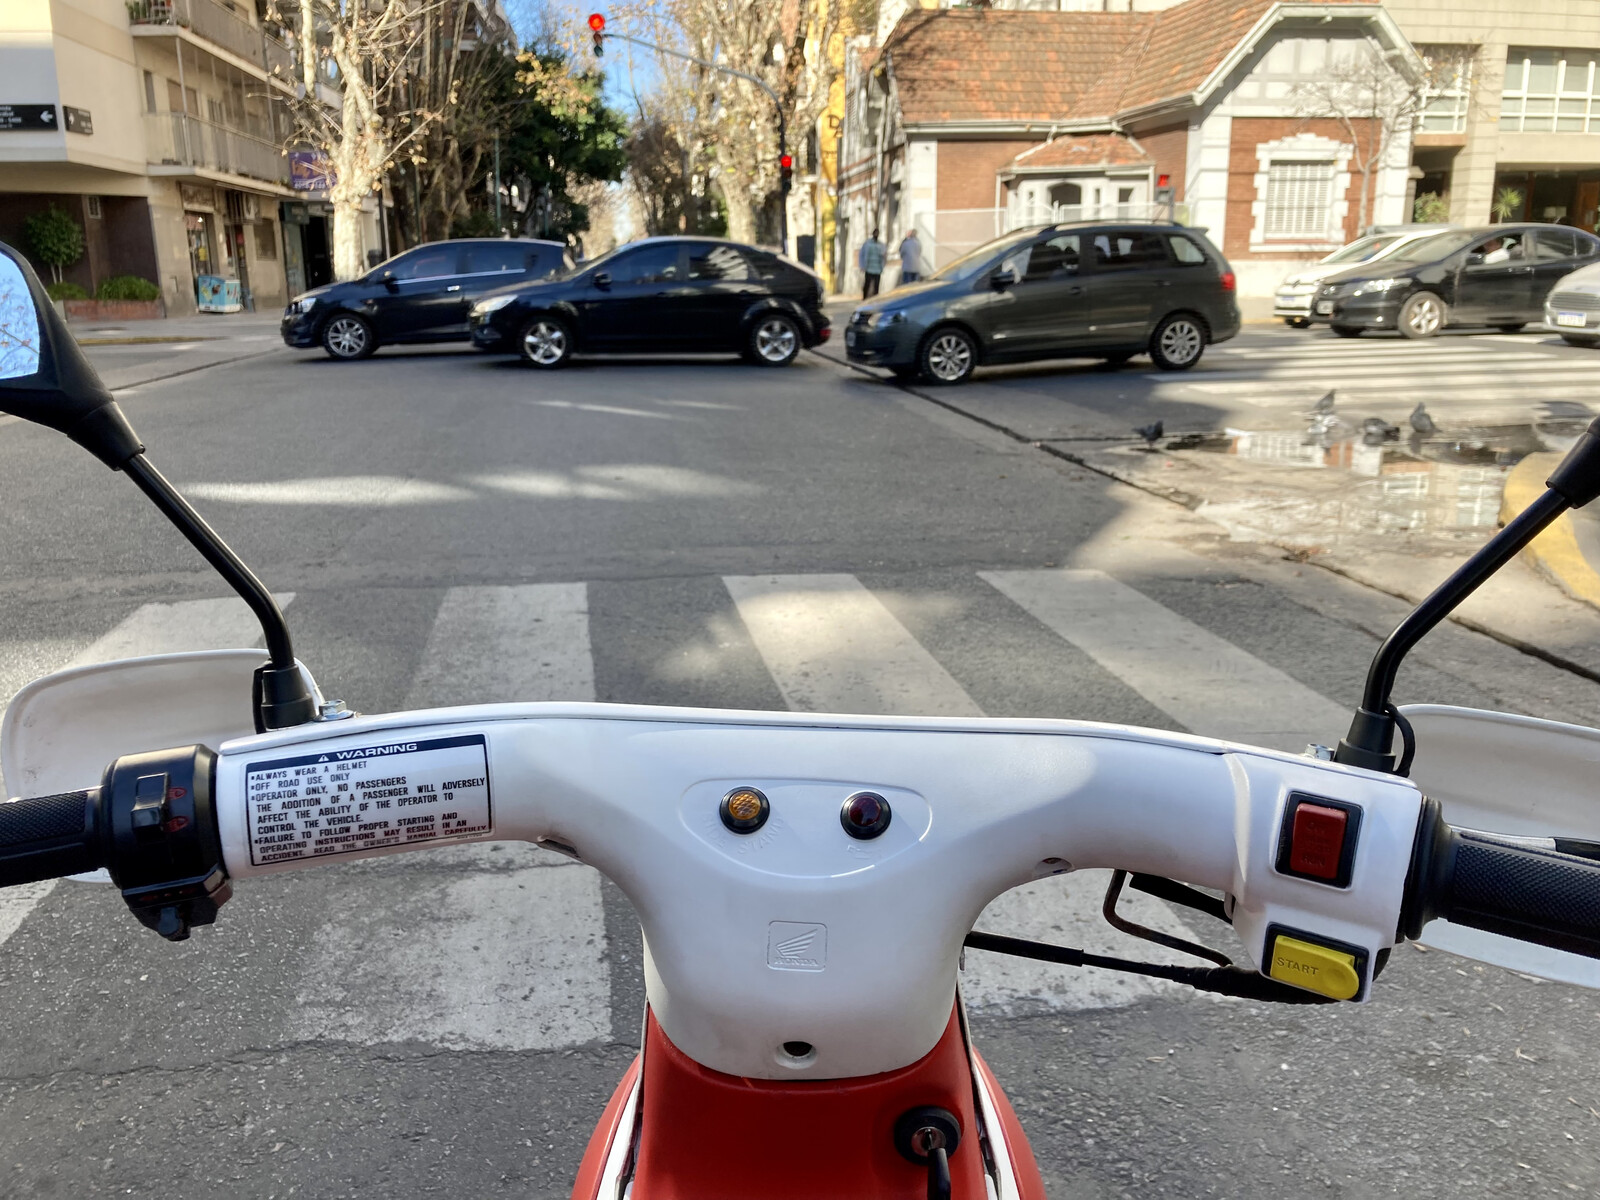
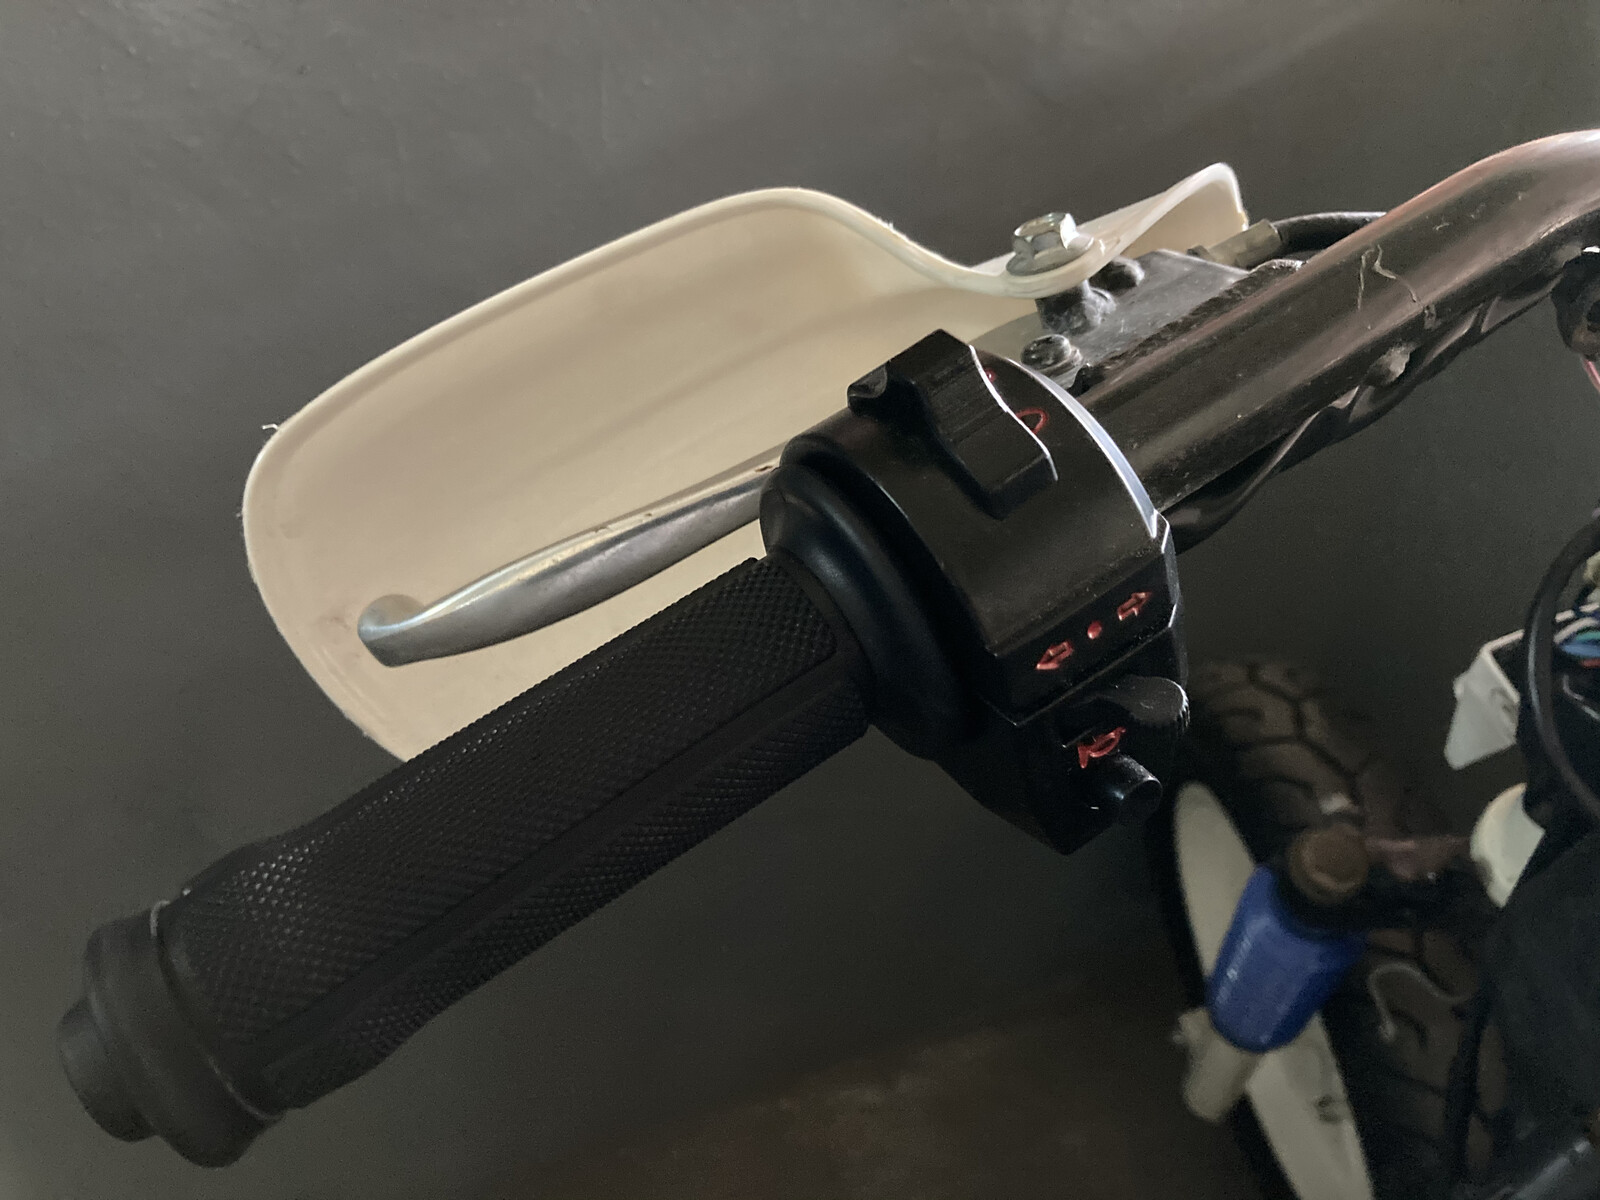
Additionally, these light commands fit perfectly on the Cub EZ90 handlebar, with a 22mm inner diameter and 38mm width. The only drawback is that the left grip needs to be moved slightly outward to make room for the light command.
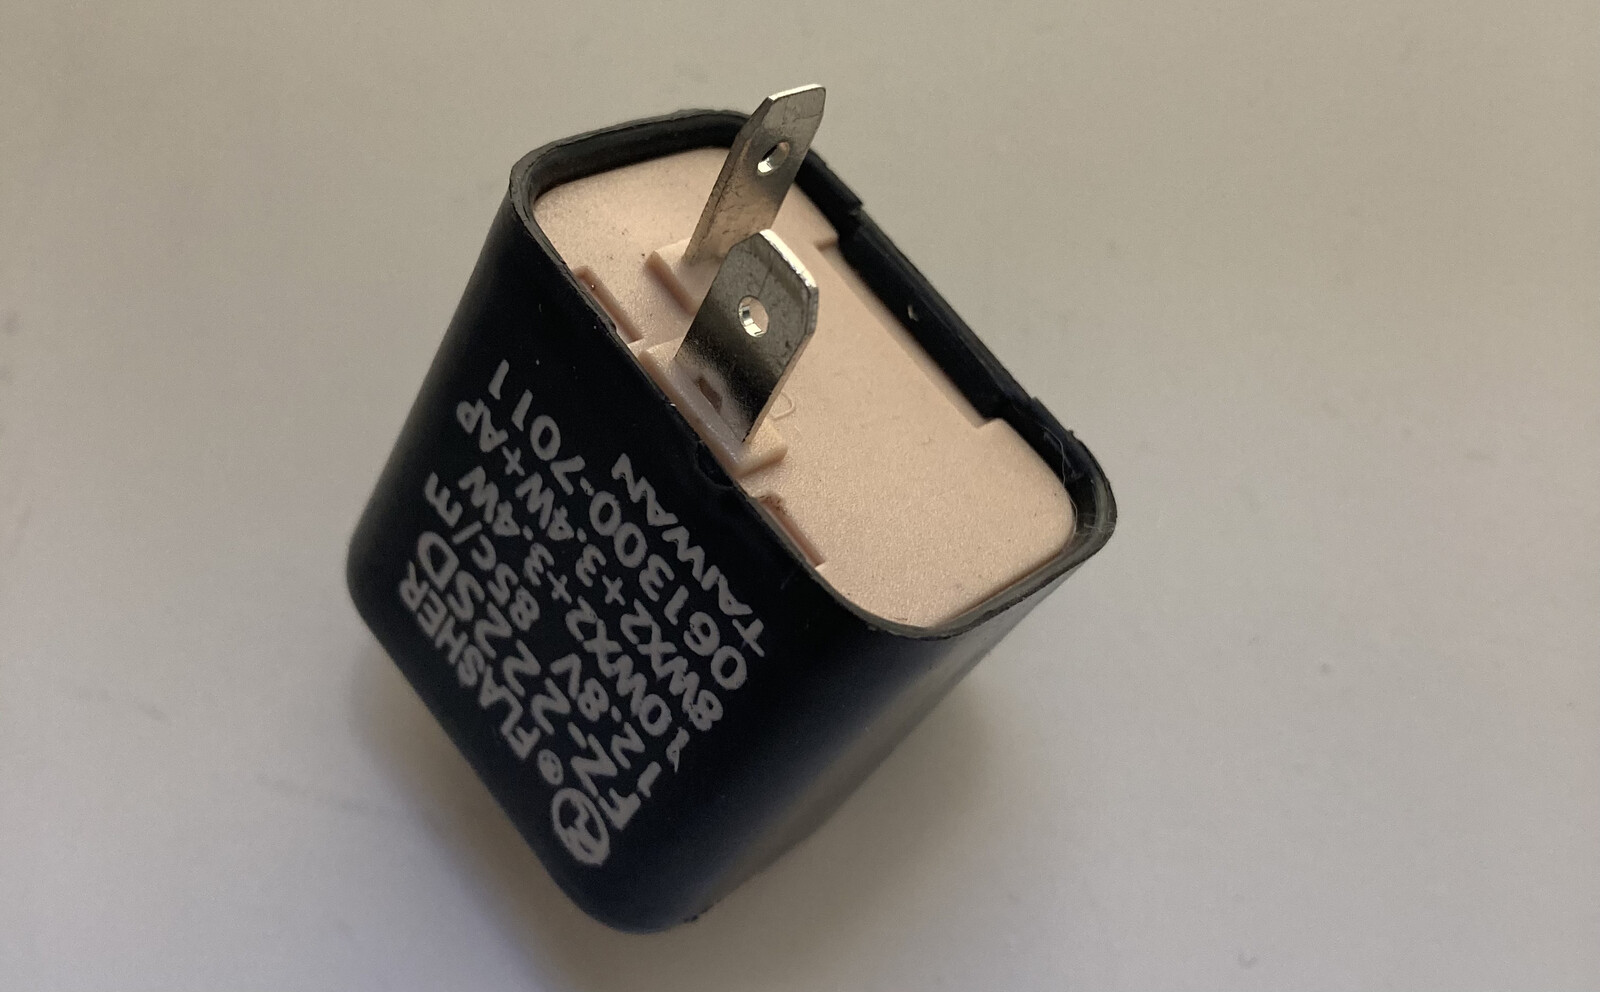
To make the turn signals blink, I need to add an LED flasher. A flasher is a simple device with two pins - input and output. When voltage is applied to the input, the output flashes, or blinks, every second.
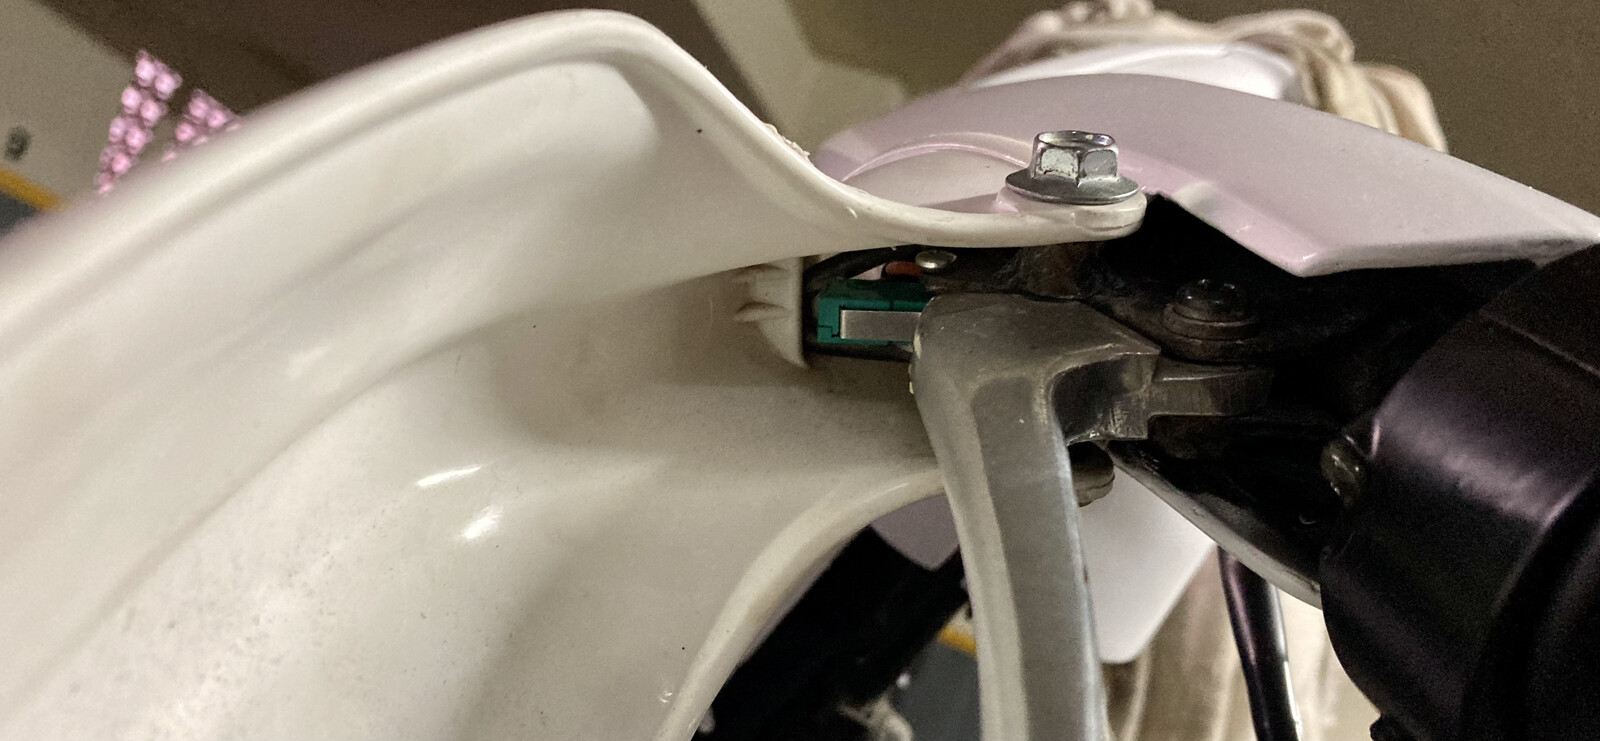
Brake switches
I am using small electronic green switches with a metal lever. I installed them inside the brake handle’s pivot point using screws and nuts. When the brake handle is used, it moves the metal lever of the switch and activates the brake lights. The attached picture shows the installation process.
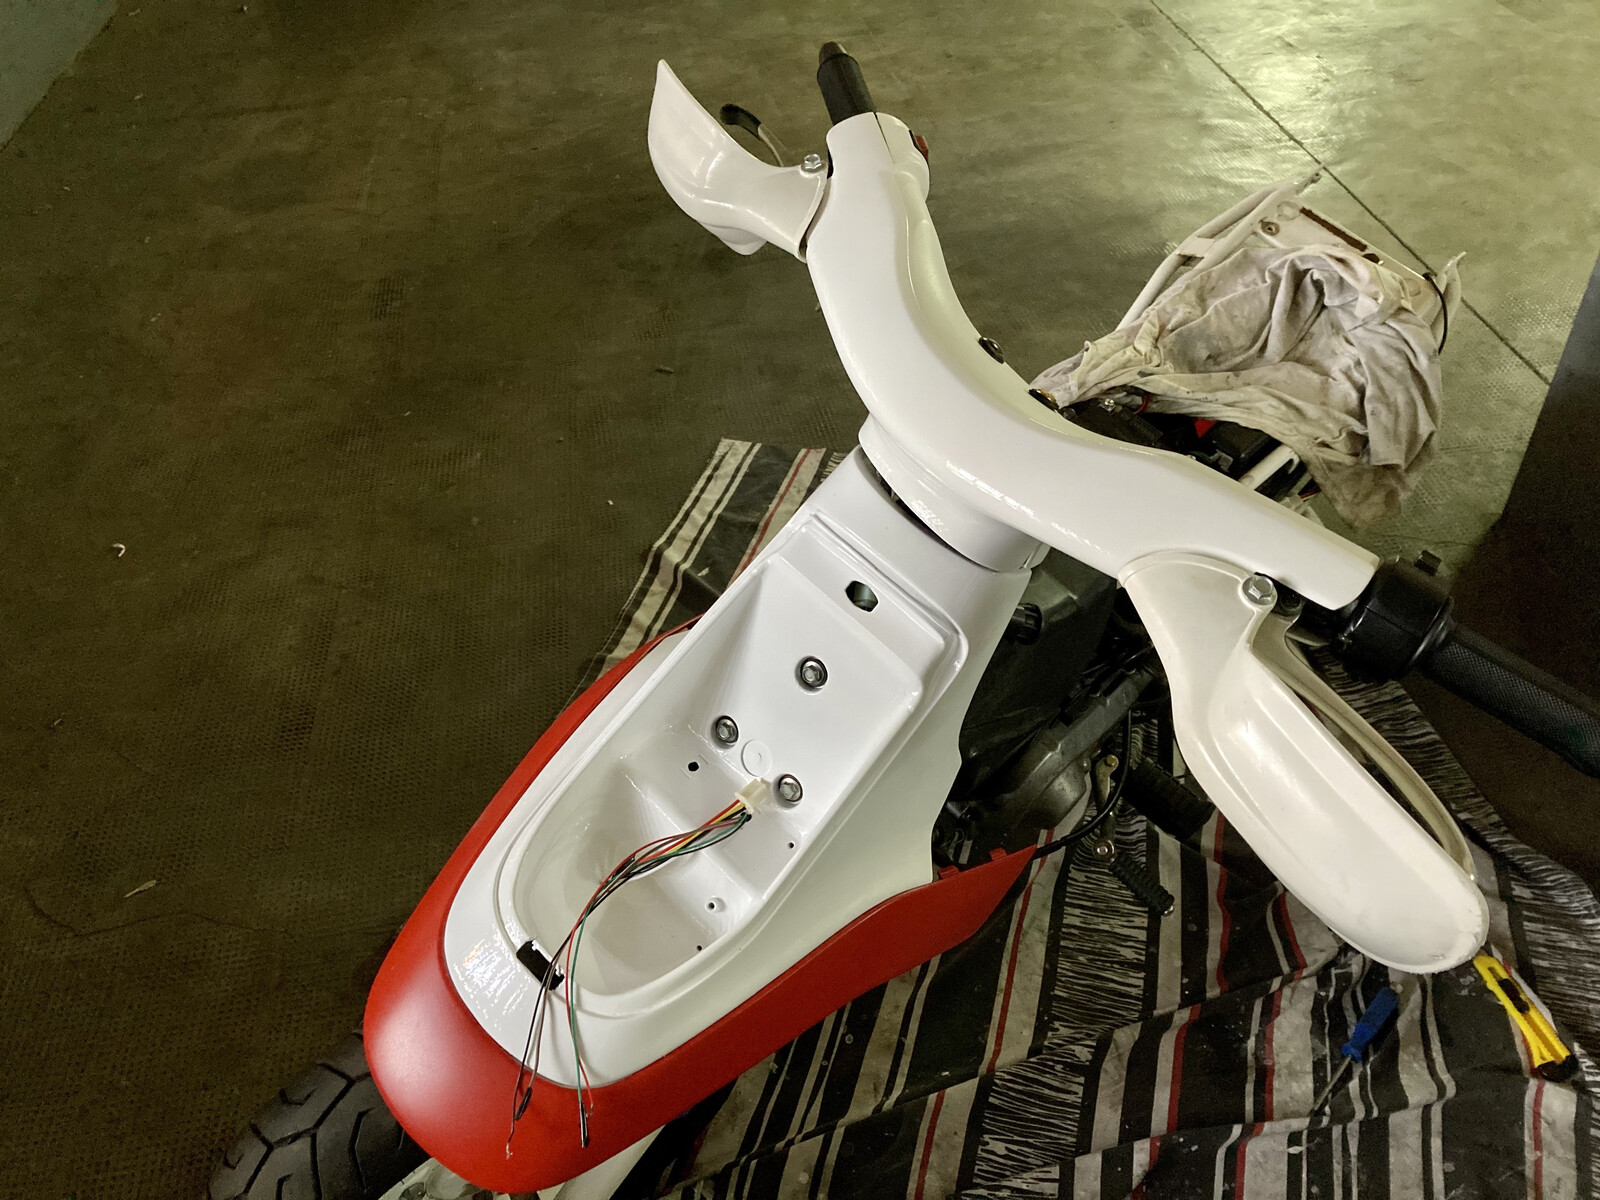
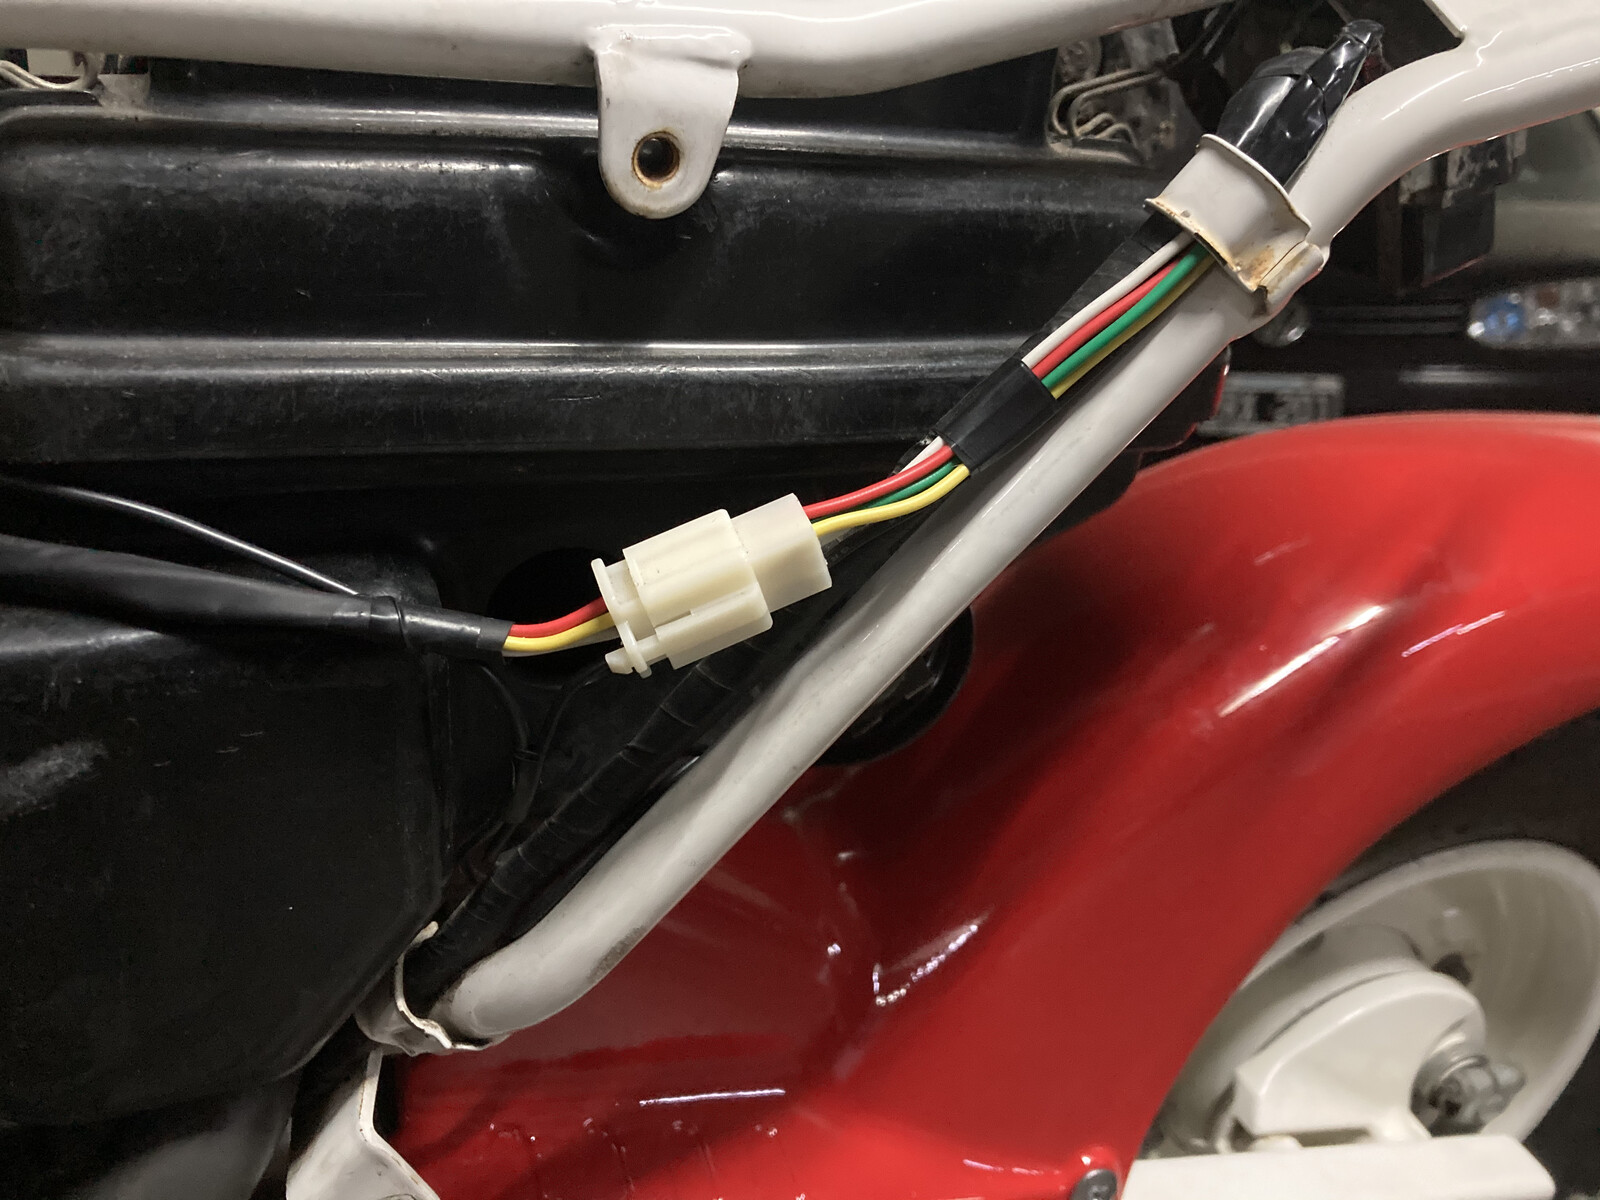
Rear wiring
During the restoration process, the bike did not have any plastic covers, which made the wiring installation much easier. In the end, I ran six wires to the rear of the bike.
- Ground
- Left turn signal
- Right turn signal
- Rear day runtime light
- Brake light
- Horn
I used a generic 6-wire plastic connector to ease the installation and maintenance.
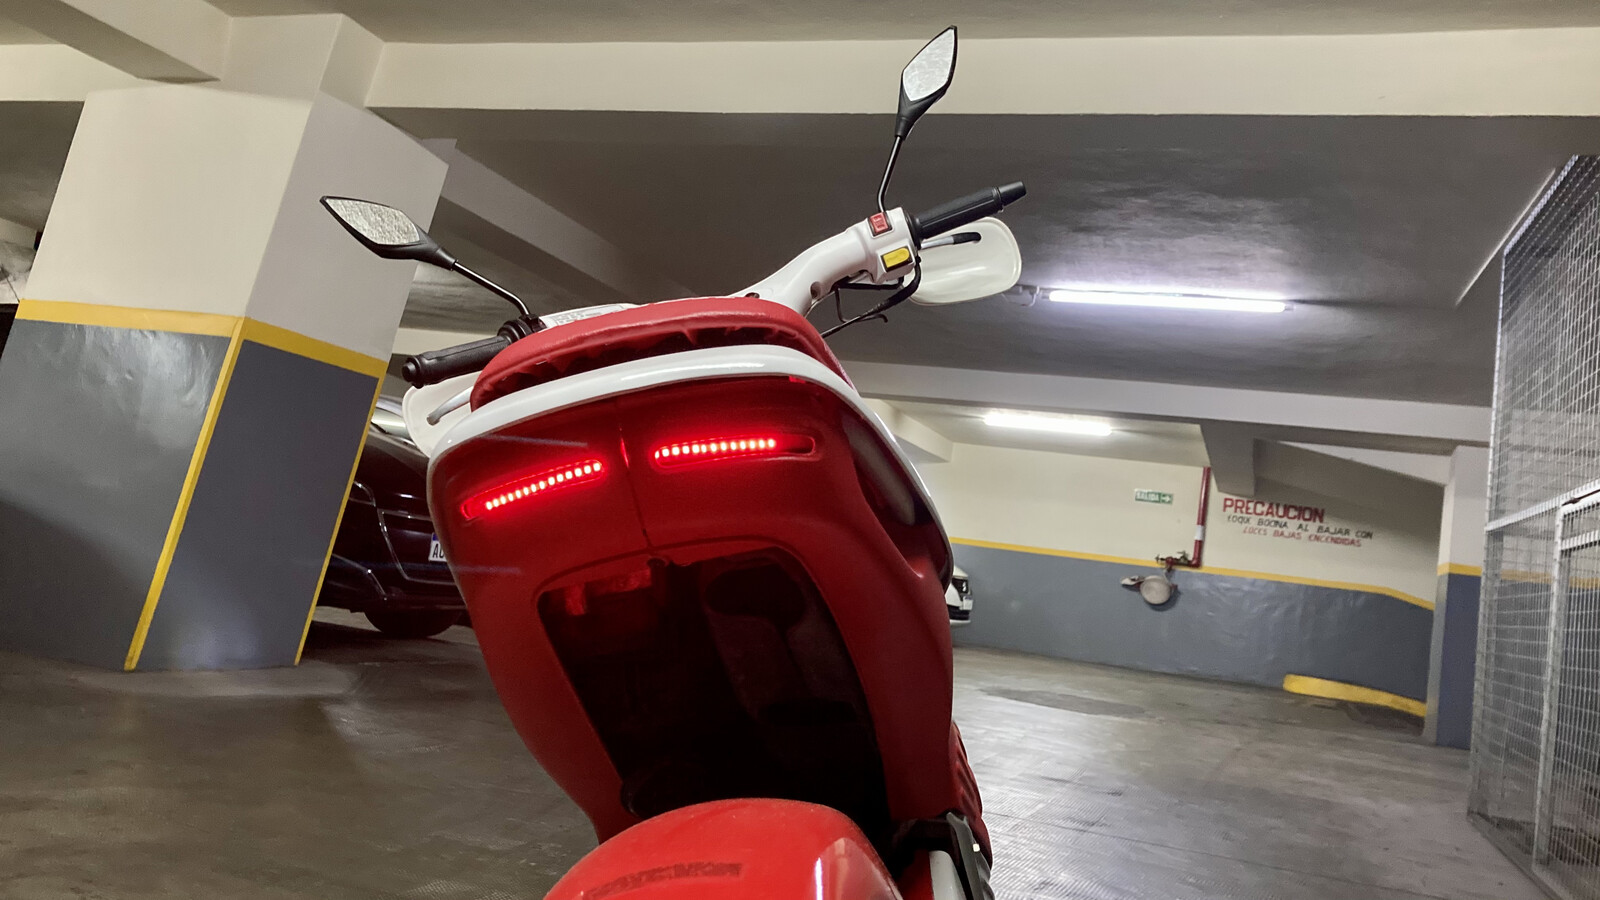
Rear lights
The LED rear light is the perfect solution for this project. It has everything needed in a single package, and its flexibility and length make it suitable for covering the holes on the rear of the Cub.
However, the wire quality is not great, so it’s important to handle them with care to avoid damaging them. As for the connections, they’re straightforward. Follow the diagram below:
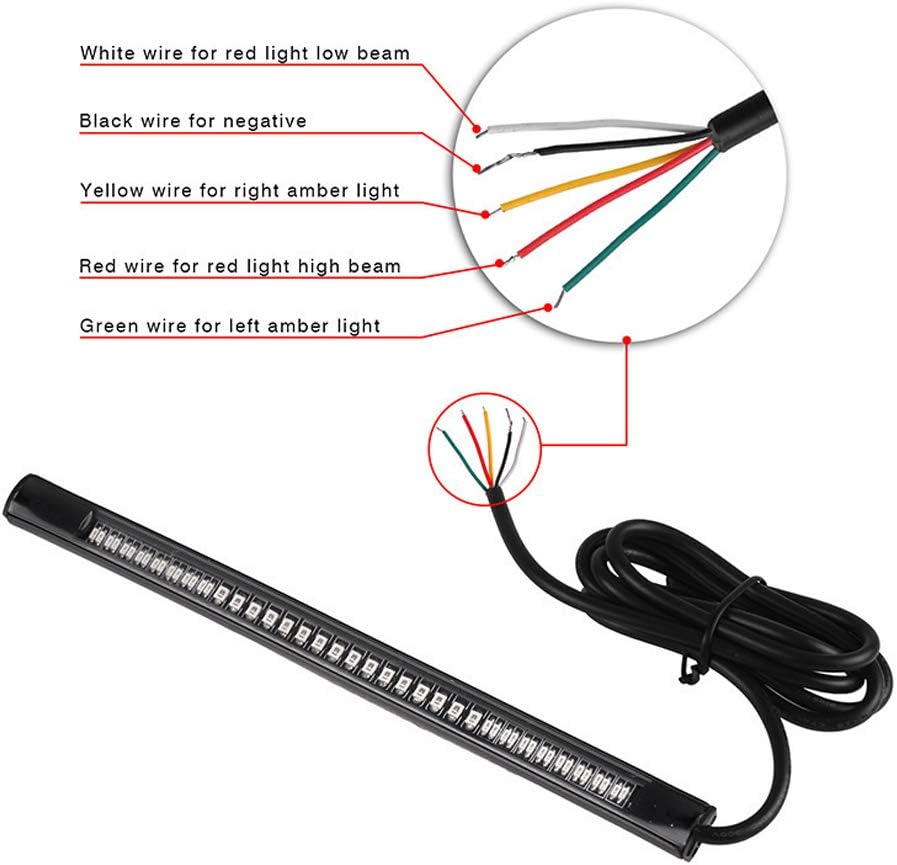
Connect the white wire (low beam) to the same wire as the front light’s low beam. Also, make sure to match each turn signal with its respective connection in the front.
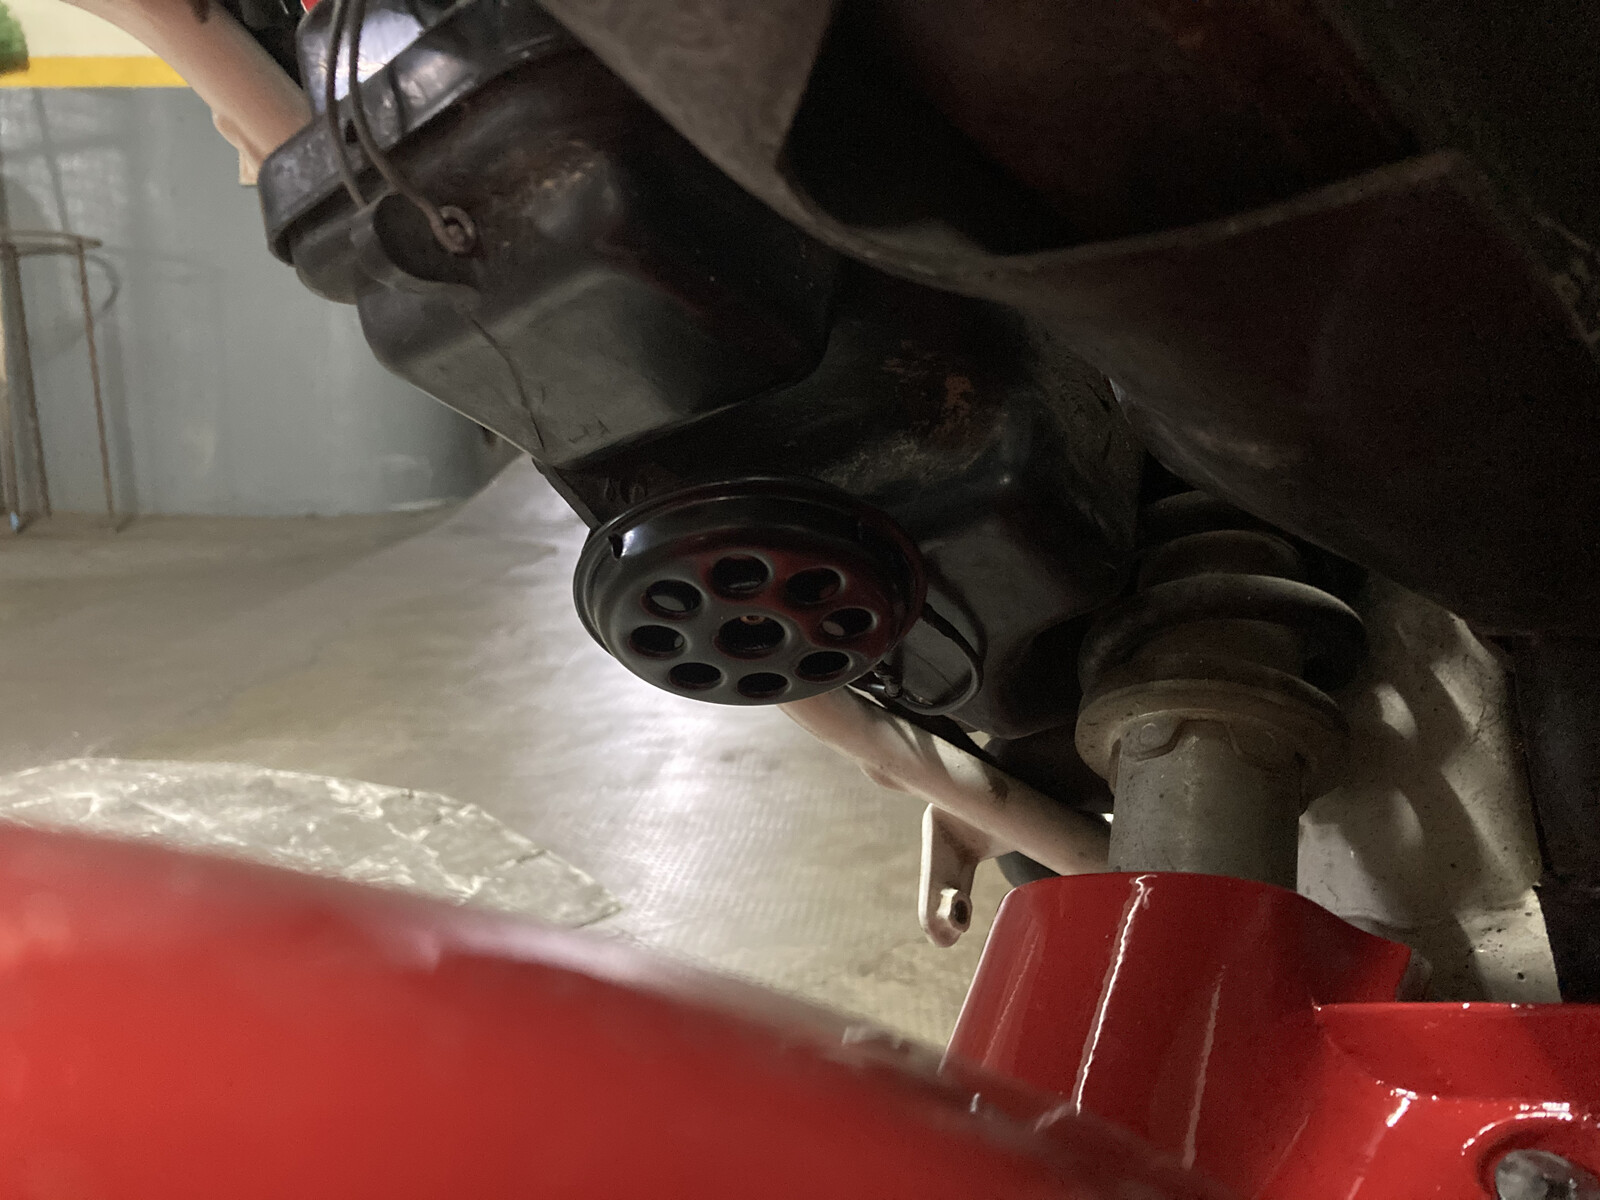
Horn
The horn I found on the Internet is the cheapest one available. It’s a small 12v piezoelectric horn that I mounted using one bolt of the airbox. The horn hangs between the airbox and the rear fender.
Schematic
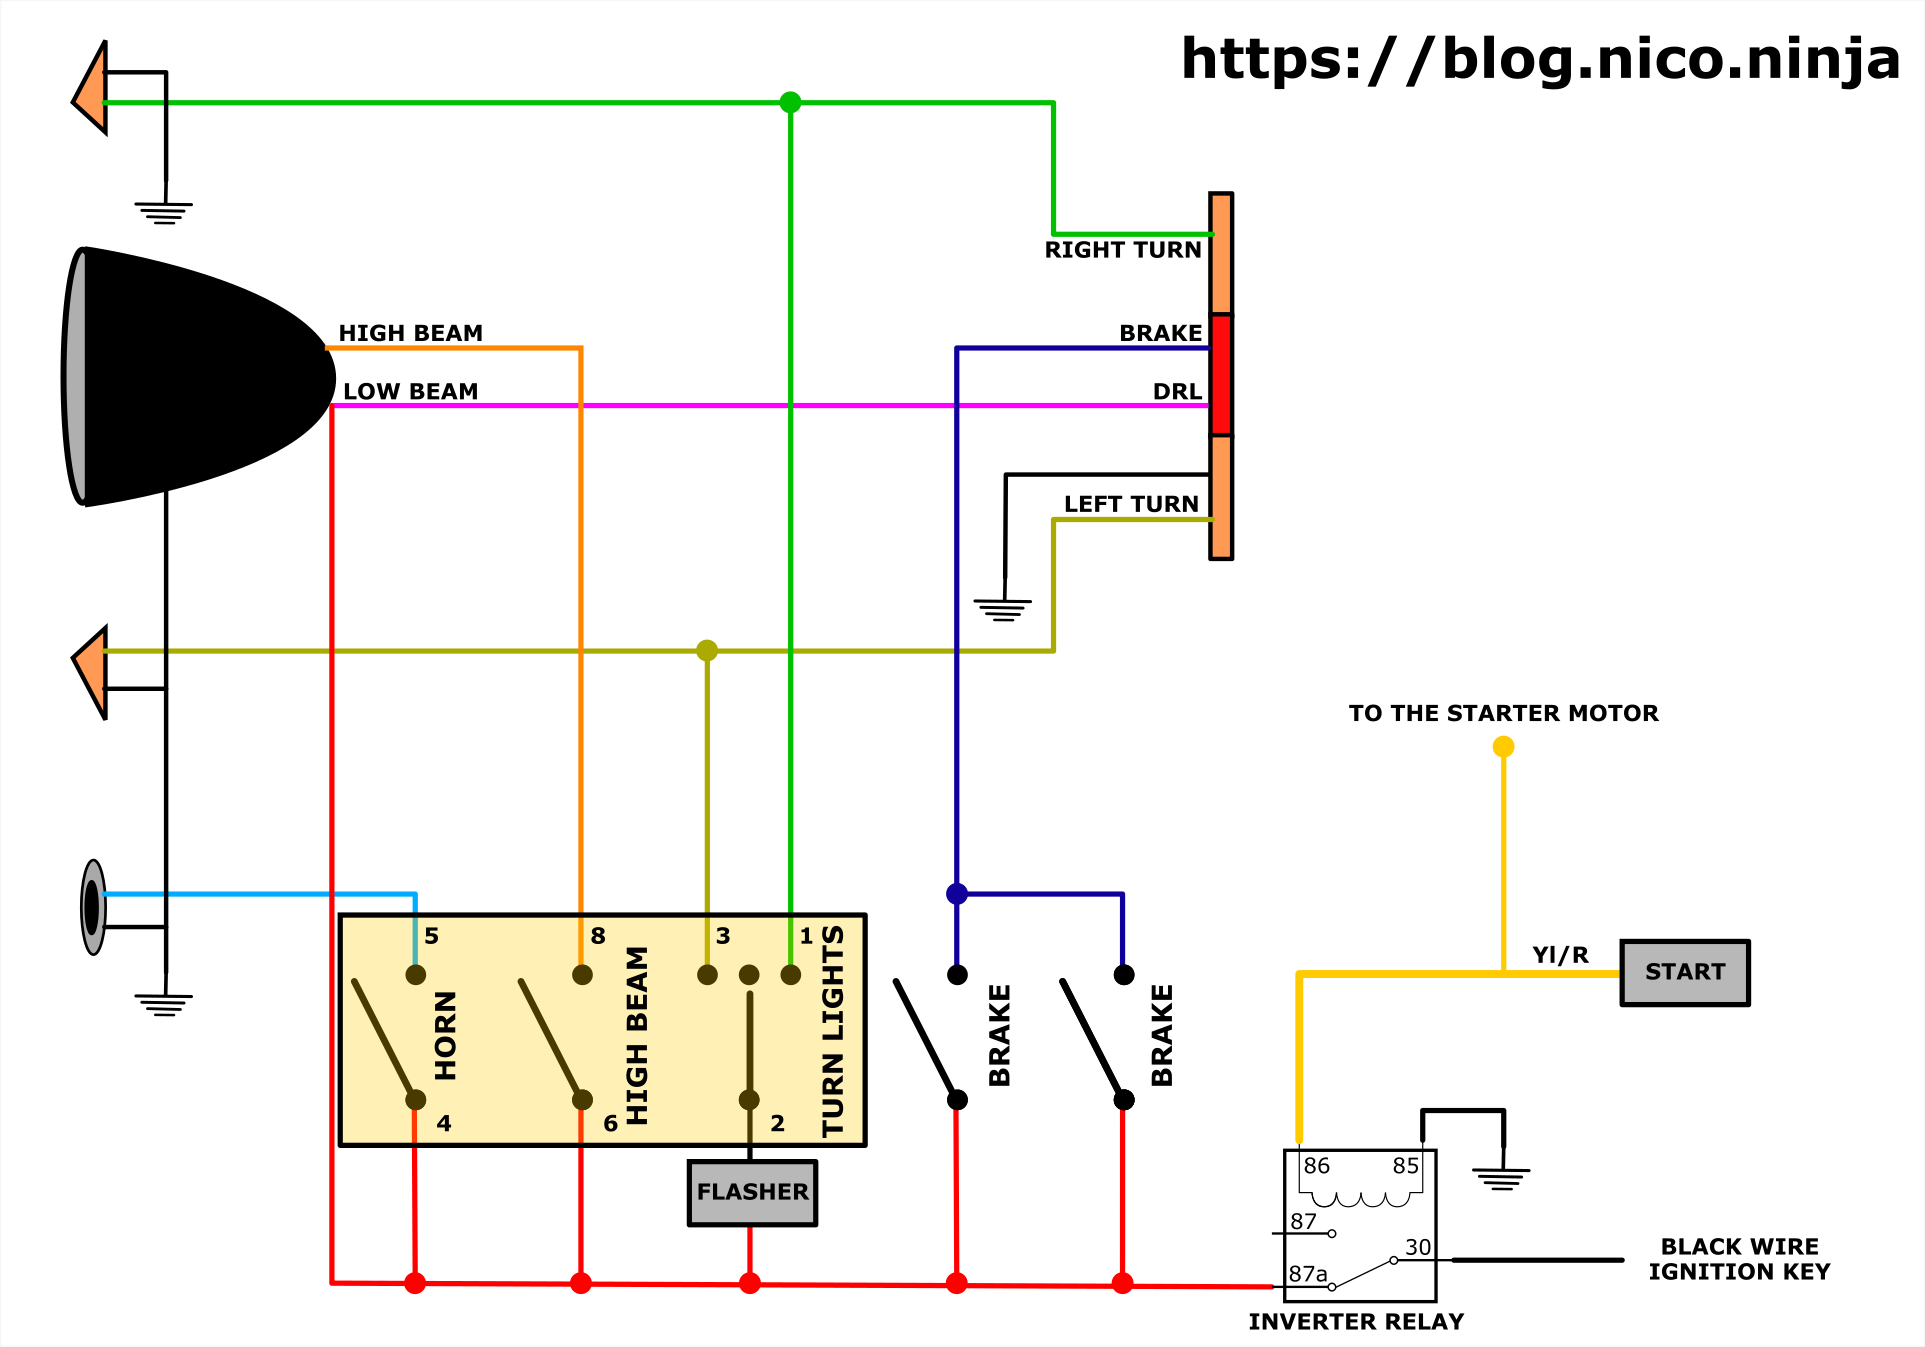
This is the schematic diagram. While it’s simple enough, I’ll explain some details.
- The flasher goes in the middle of the +12v line, just before entering the gray (2) wire of the light switch. That way both left and right turn signals will blink.
- The inverter relay is situated there so when you crank your engine, all lights are shut off, reducing the power consumption on the battery. Although this is not required, I think it may help if your battery is not in the best condition.
- Front turn signals are connected with quick detach connectors, that way is easy to remove the mirrors if you want to.
Final pictures
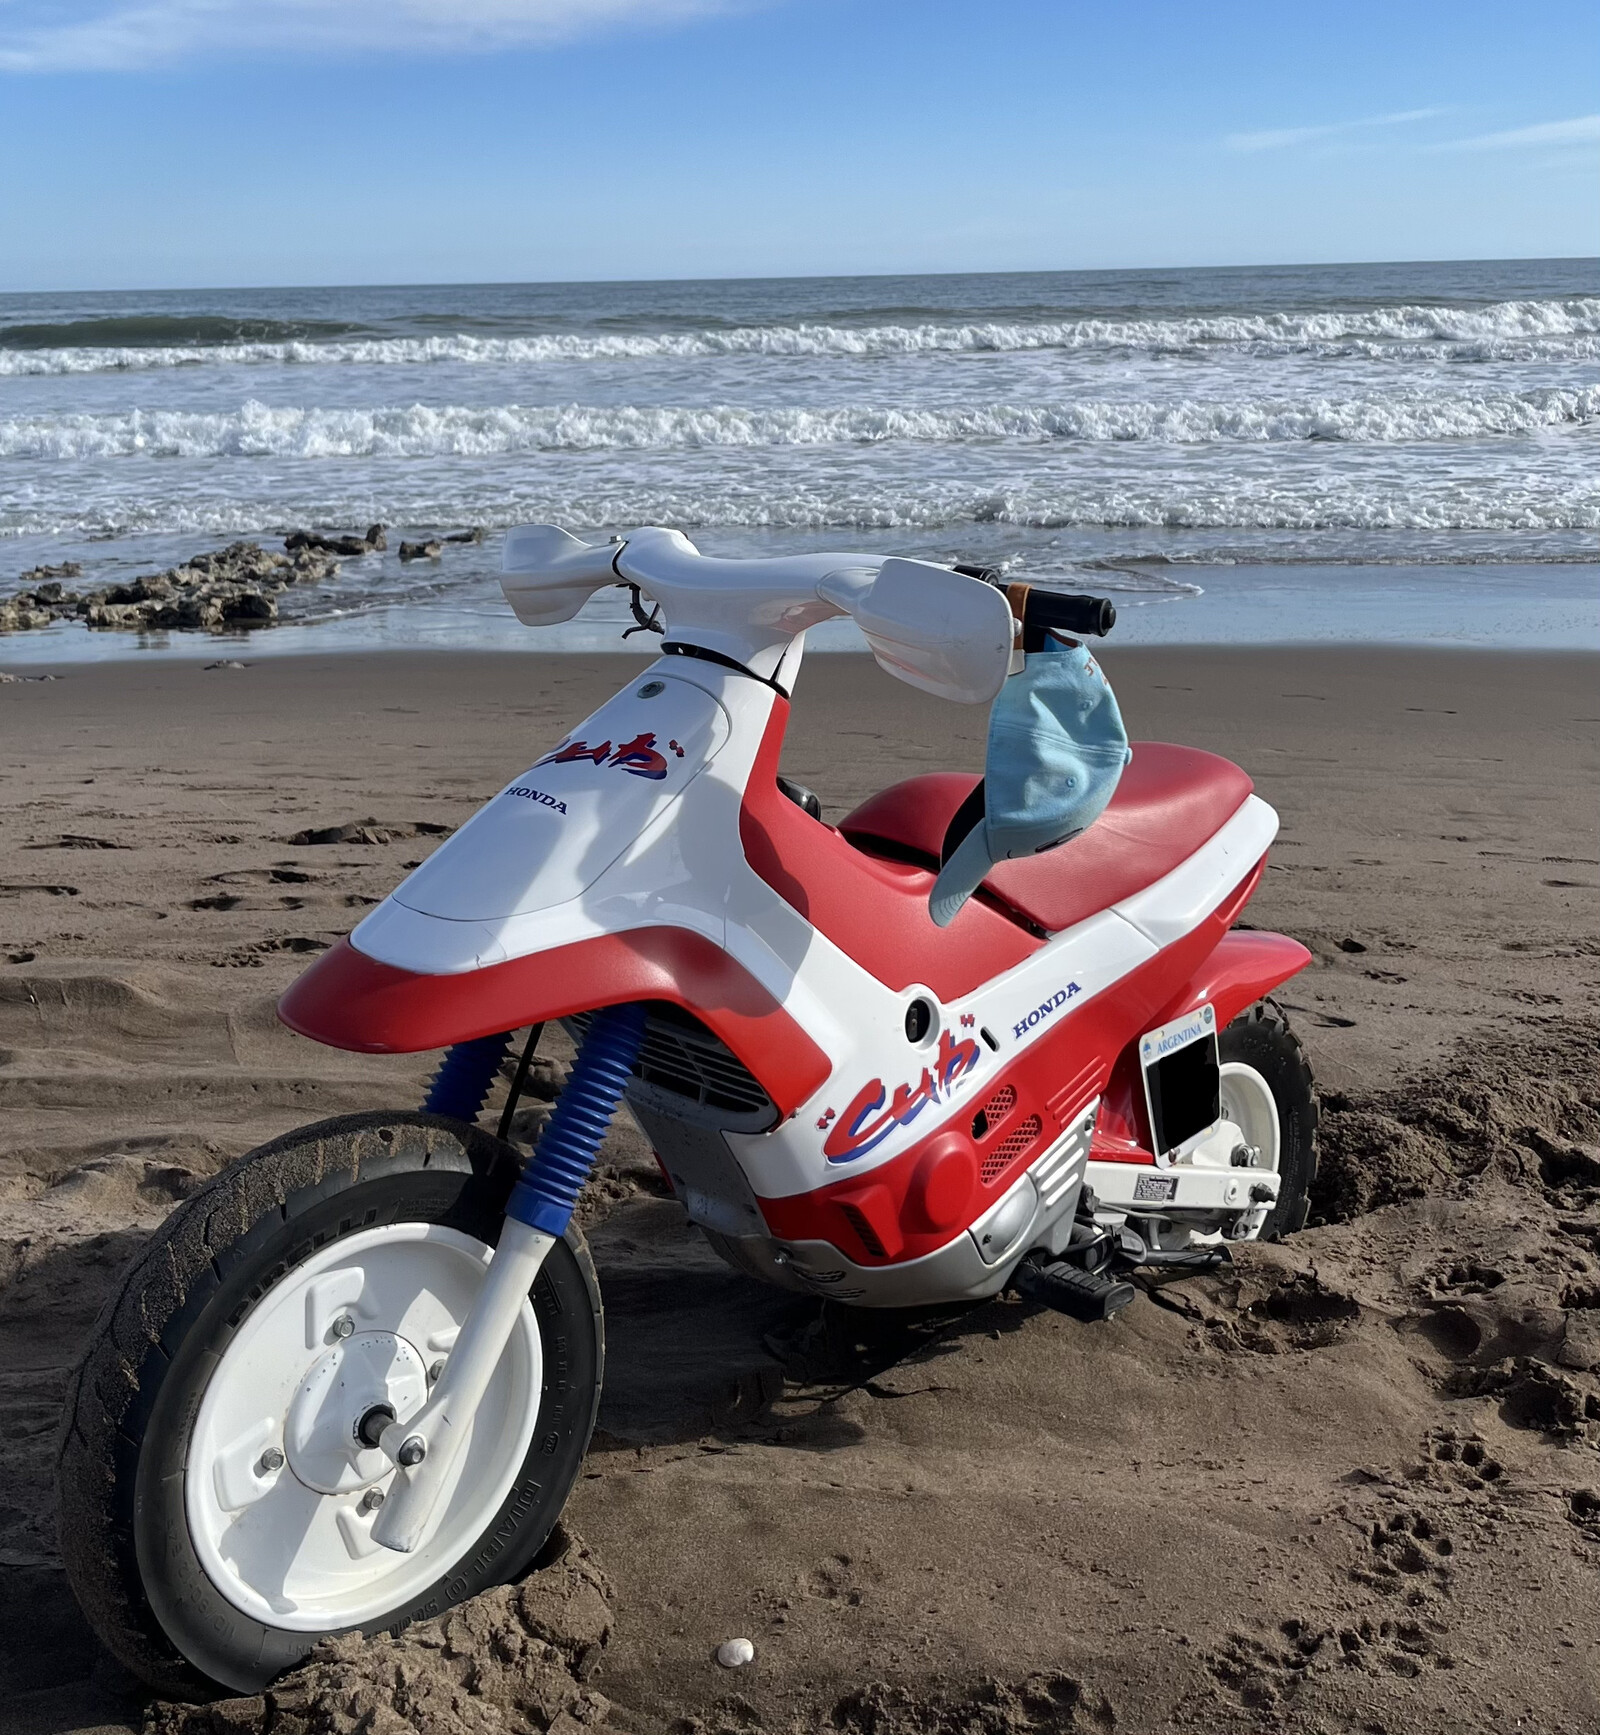
This is what the Cub looks like with the light front cover installed. It’s easy to replace by disconnecting the front light, allowing you to swap it with the original front cover and revert it back to its original state.
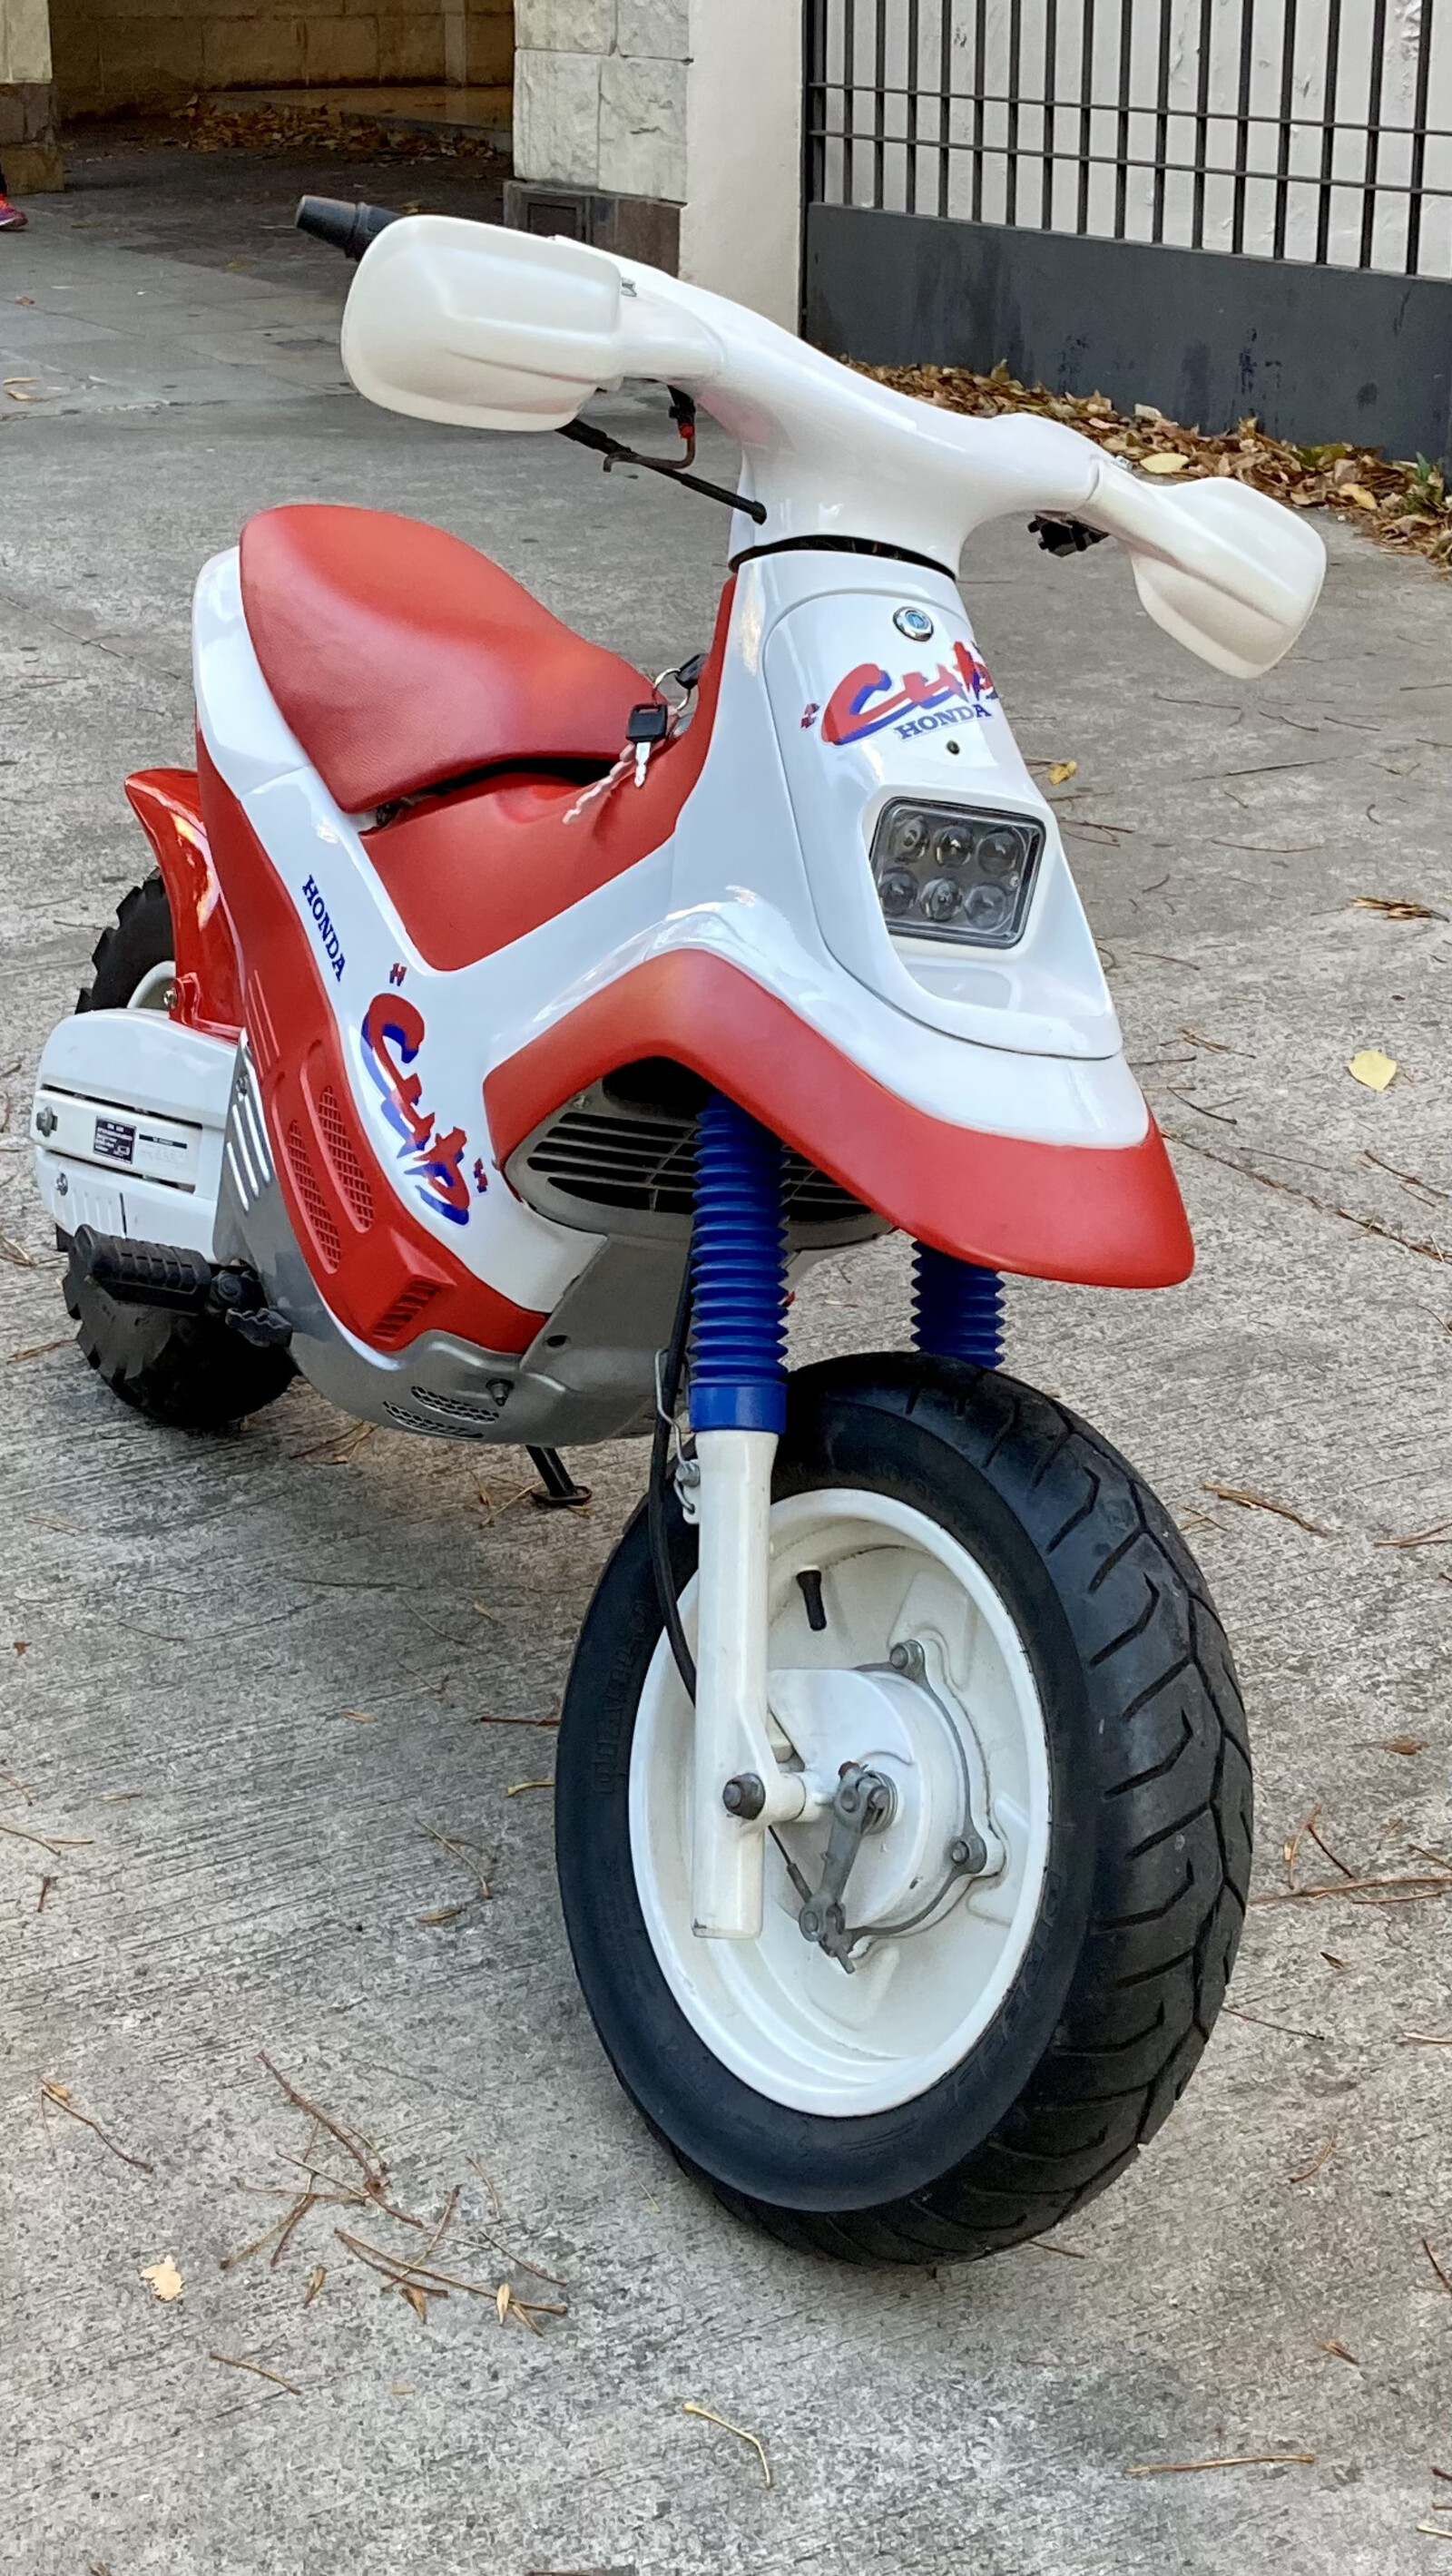
This is how it looks like with the original front cover
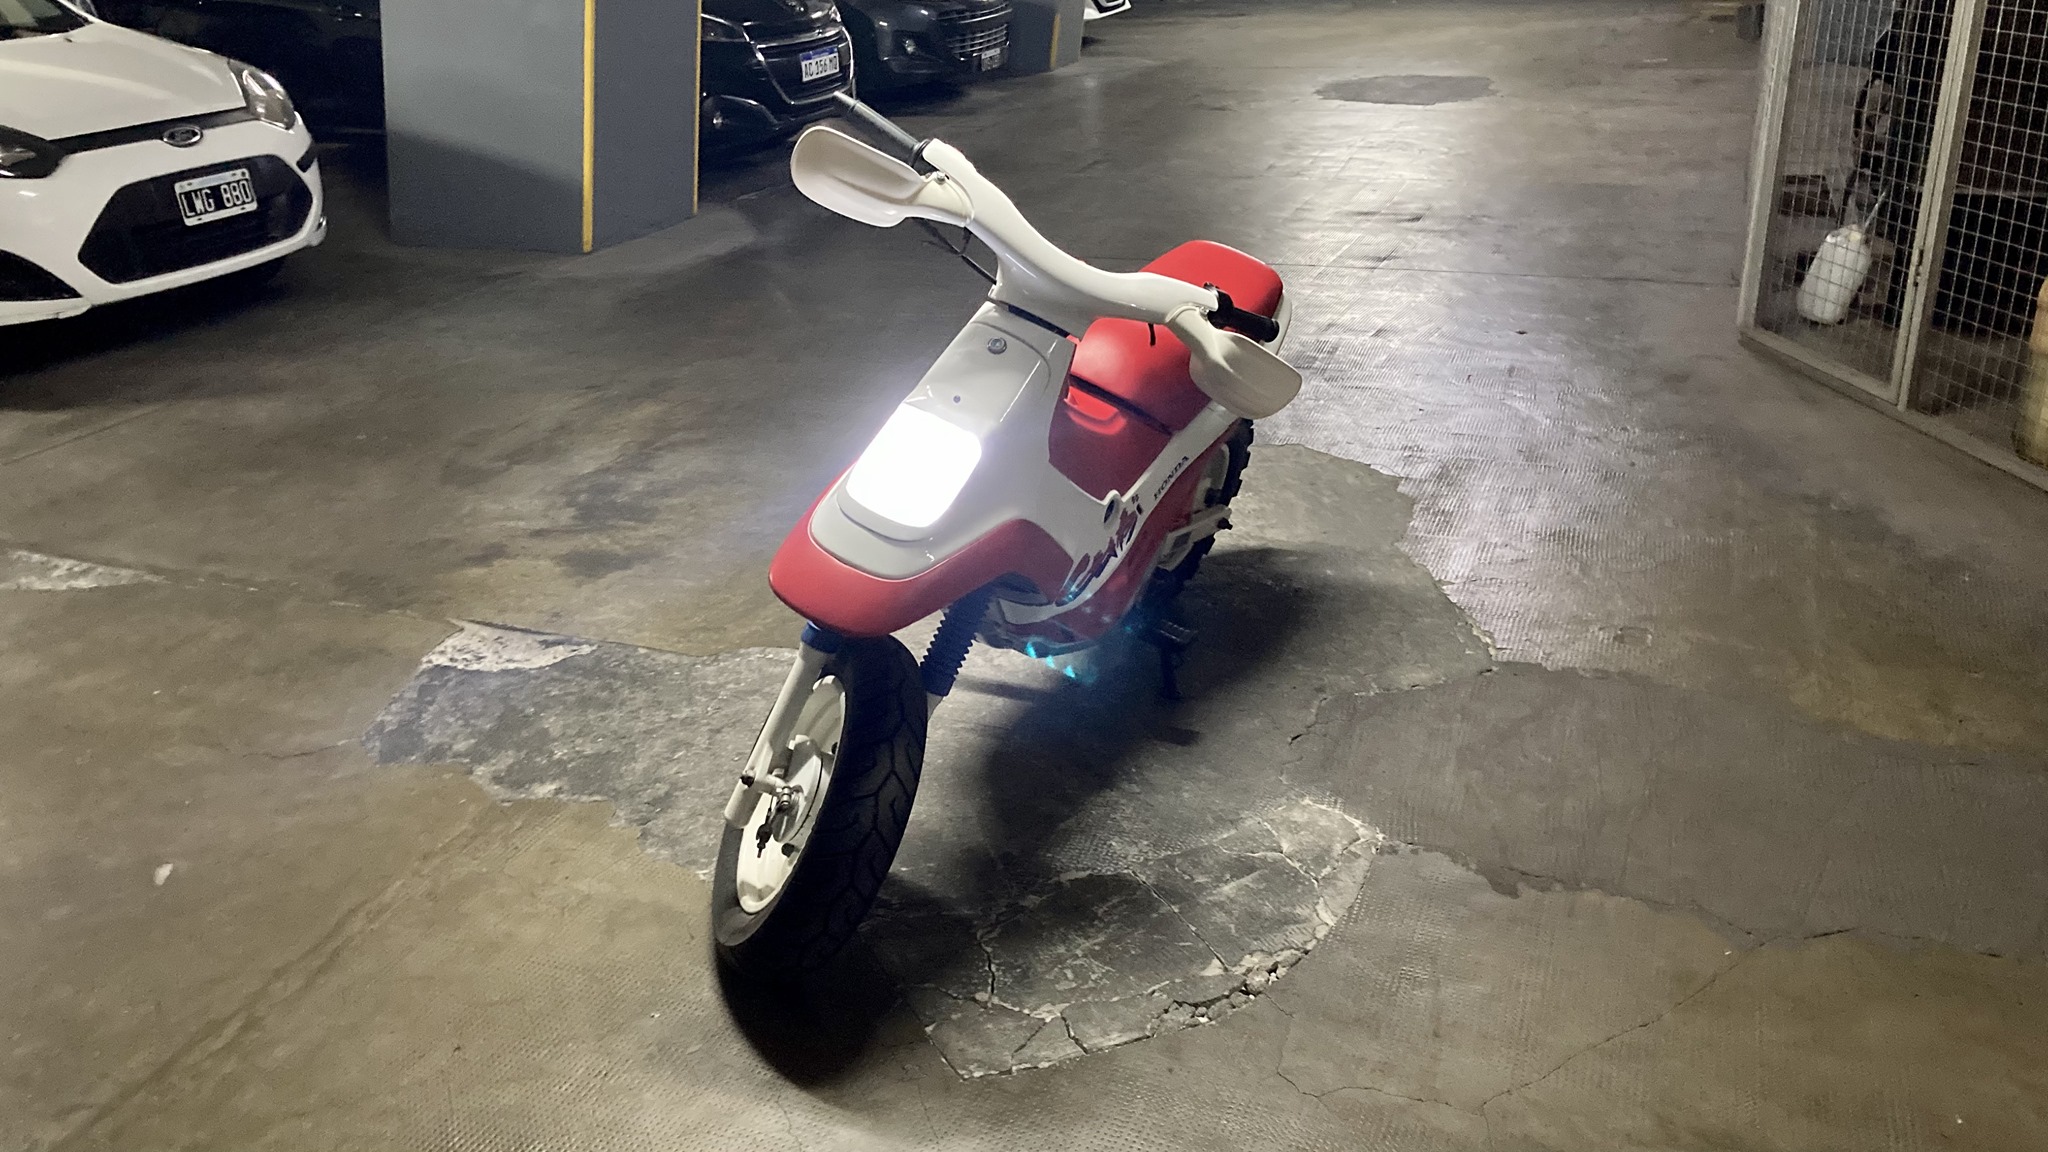
The front LED lamp is quite powerful, enough for a small bike. This is what the low-beam light looks like:
Video showoff
This video provides a quick walkthrough of all the new features added to the EZ90, including front low and high beam lights, turn lights, brake lights, and a horn.